- ubuntu12.04环境下使用kvm ioctl接口实现最简单的虚拟机
- Ubuntu 通过无线网络安装Ubuntu Server启动系统后连接无线网络的方法
- 在Ubuntu上搭建网桥的方法
- ubuntu 虚拟机上网方式及相关配置详解
CFSDN坚持开源创造价值,我们致力于搭建一个资源共享平台,让每一个IT人在这里找到属于你的精彩世界.
这篇CFSDN的博客文章vue使用Split封装通用拖拽滑动分隔面板组件由作者收集整理,如果你对这篇文章有兴趣,记得点赞哟.
手动封装一个类似Iview中的Split组件,可将一片区域,分割为可以拖拽调整宽度或高度的两部分区域,最终效果如下:

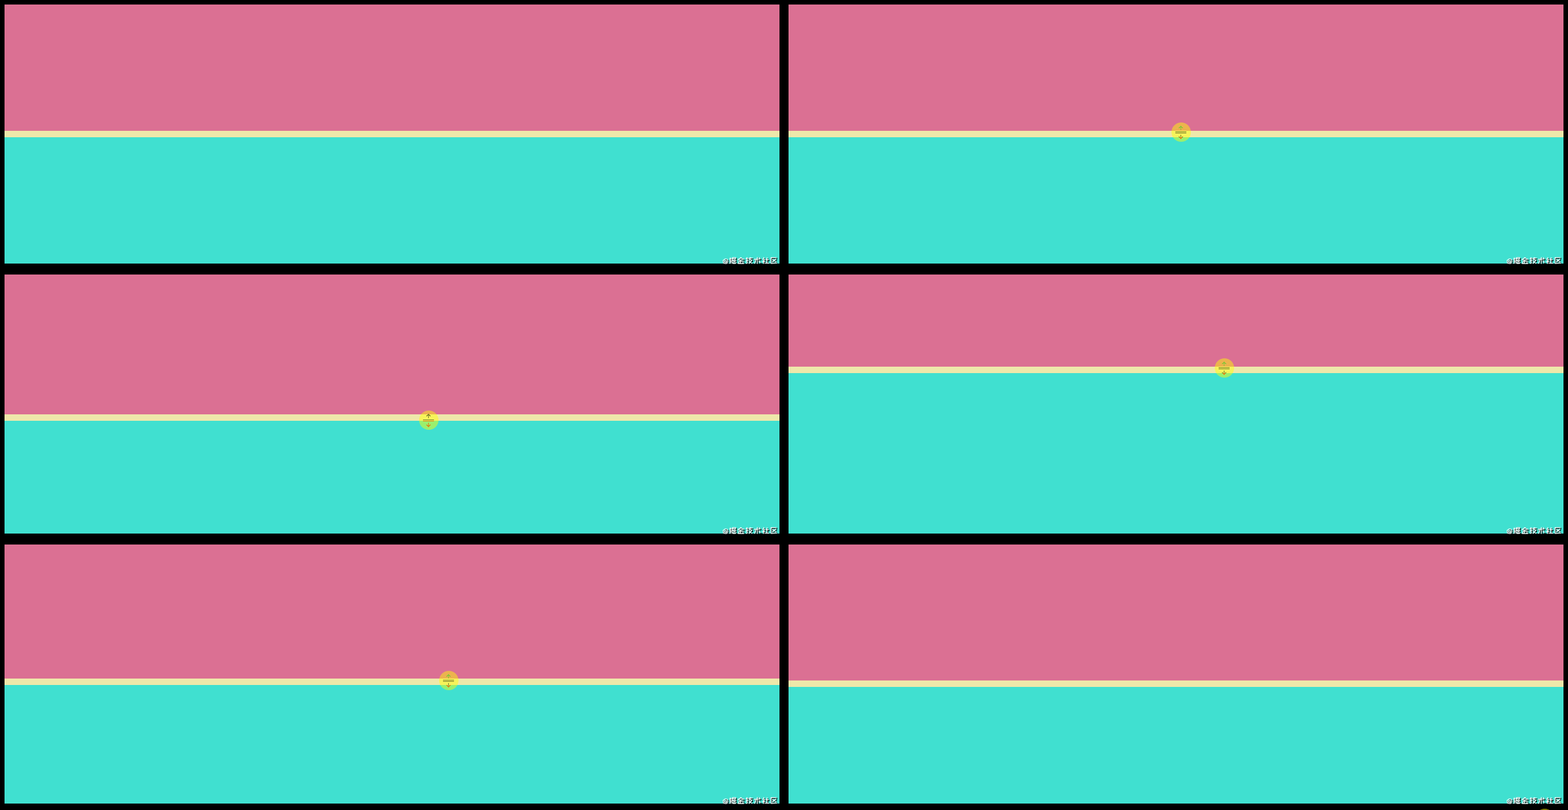
在vue工程中创建SplitPane组件,引入页面使用.

<template> <div class="page"> <SplitPane /> </div></template><script>import SplitPane from "./components/split-pane"export default { components: { SplitPane }, data() { return {} }}</script><style scoped lang="scss">.page { height: 100%; padding: 10px; background: #000;}</style>
// split-pane.vue<template> <div class="split-pane"> split </div></template><script>export default { data() { return {} }}</script><style scoped lang="scss">.split-pane { background: palegreen; height: 100%;}</style>
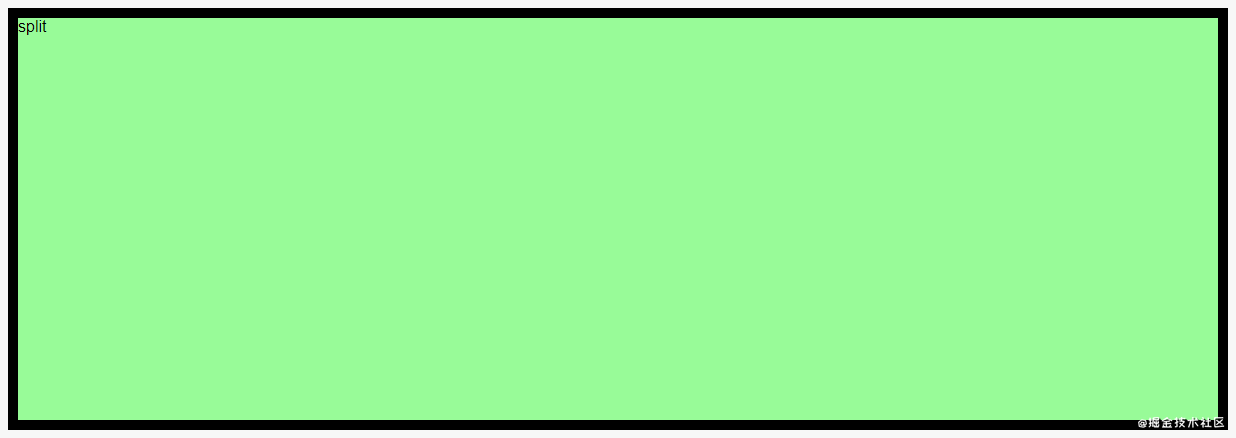
SplitPane组件由三部分组成:区域1,区域2,以及滑动器。添加这三个元素,并分别添加class名,注意.pane为区域1和区域2共用.
<template><div class="split-pane"> <div class="pane pane-one"></div> <div class="pane-trigger"></div> <div class="pane pane-two"></div> </div></template>
将容器设置为flex布局,区域2的flex属性设为1,则区域2会根据区域1的宽度变化自适应.
<style scoped lang="scss">.split-pane { background: palegreen; height: 100%; display: flex; .pane-one { width: 50%; background: palevioletred; } .pane-trigger { width: 10px; height: 100%; background: palegoldenrod; } .pane-two { flex: 1; background: turquoise; }}</style>

可以看到设置区域1的宽度变化就是实现该组件的核心点.
除了横向还要支持纵向布局,所以给组件添加一个direction属性,该属性由外部传入,值为row 或 column,与父元素的flex-direction属性绑定.
<template> <div class="split-pane" :style="{ flexDirection: direction }"> <div class="pane pane-one"></div> <div class="pane-trigger"></div> <div class="pane pane-two"></div> </div></template><script>export default { props: { direction: { type: String, default: "row" } }, data() { return {} }}</script>
在横向布局中,区域1设置width:50%,滑动器设置width:10px,而变为纵向布局后这两个width应该变为height。所以删除style中这两个width设置,添加一个lengthType计算属性,根据不同的direction在行内样式中给这两个元素分别设置宽高.
<template> <div class="split-pane" :style="{ flexDirection: direction }"> <div class="pane pane-one" :style="lengthType + ":50%""></div> <div class="pane-trigger" :style="lengthType + ":10px""></div> <div class="pane pane-two"></div> </div></template>computed: { lengthType() { return this.direction === "row" ? "width" : "height" } }
同时在横向布局中,区域1,区域2,滑动器的height都为100%,在纵向布局下都应该改为width: 100%。所以删除原本的height设置,将direction绑定为容器的一个class,根据该class设置三个子元素两种情况下100%的属性.
<template> <div class="split-pane" :class="direction" :style="{ flexDirection: direction }"> <div class="pane pane-one" :style="lengthType + ":50%""></div> <div class="pane-trigger" :style="lengthType + ":10px""></div> <div class="pane pane-two"></div> </div></template><script>export default { props: { direction: { type: String, default: "row" } }, data() { return {} }, computed: { lengthType() { return this.direction === "row" ? "width" : "height" } }}</script><style scoped lang="scss">.split-pane { background: palegreen; height: 100%; display: flex; &.row { .pane { height: 100%; } .pane-trigger { height: 100%; } } &.column { .pane { width: 100%; } .pane-trigger { width: 100%; } } .pane-one { background: palevioletred; } .pane-trigger { background: palegoldenrod; } .pane-two { flex: 1; background: turquoise; }}</style>
此时如果在页面中给组件传入direction="column",可以看到已经变为纵向 。
<template> <div class="page"> <SplitPane direction="column" /> </div></template>
当前区域1的宽(高)度和滑动器的宽(高)度都是在样式中写死的,需要变为在js中绑定才能进行操作,首先将能用于计算的数字放在data中 。
data() { return { paneLengthPercent: 50, // 区域1宽度 (%) triggerLength: 10 // 滑动器宽度 (px) }}
然后通过computed返回两个样式中需要的字符串,同时为了保证滑动器在区域1和区域2的正中间,区域1的宽度应该减去滑动器宽度的一半.
computed: { lengthType() { return this.direction === "row" ? "width" : "height" }, paneLengthValue() { return `calc(${this.paneLengthPercent}% - ${this.triggerLength / 2 + "px"})` }, triggerLengthValue() { return this.triggerLength + "px" } }
最后绑定在模板中 。
<template> <div class="split-pane" :class="direction" :style="{ flexDirection: direction }"> <div class="pane pane-one" :style="lengthType + ":" + paneLengthValue"></div> <div class="pane-trigger" :style="lengthType + ":" + triggerLengthValue"></div> <div class="pane pane-two"></div> </div></template>
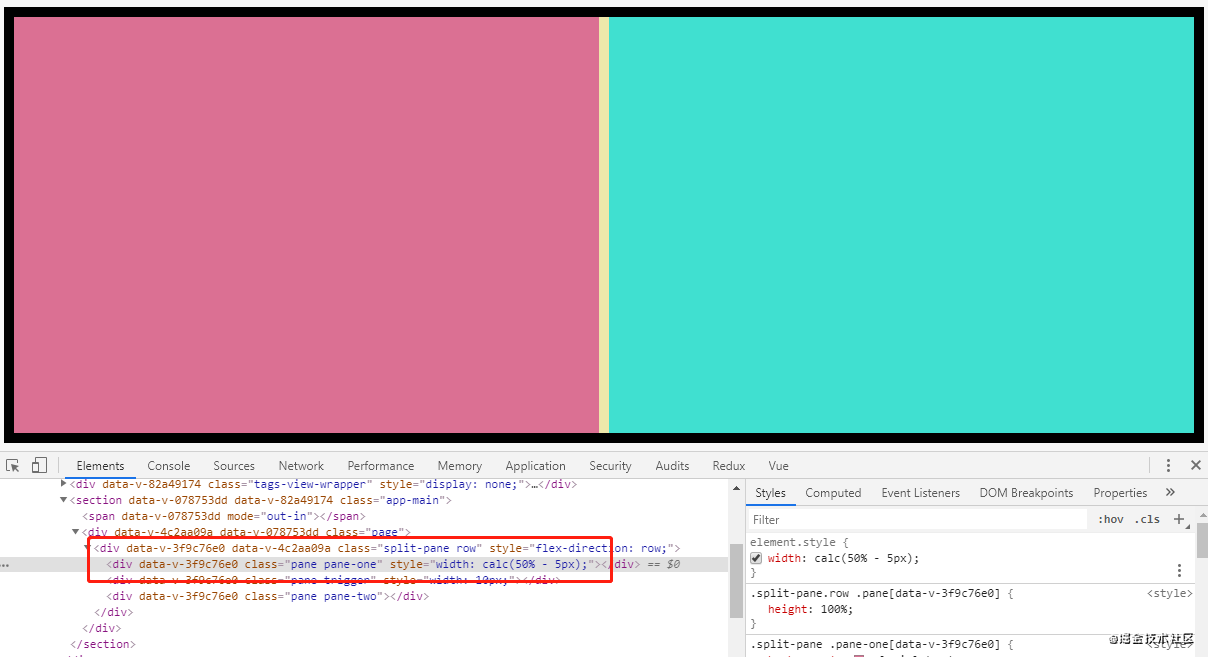
想象一下拖拽滑动器的过程,第一步是在滑动器上按下鼠标,给滑动器添加mousedown事件 。
<div class="pane-trigger" :style="lengthType + ":" + triggerLengthValue" @mousedown="handleMouseDown"></div>
按下鼠标后开始滑动,应该监听mousemove事件,但注意不是在滑动器上,而是在整个文档上监听,因为鼠标有可能滑动到页面任何位置。当用户松开鼠标时,应该取消对整个文档mousemove的监听,所以在鼠标按下的那一刻,应该对document添加两个事件:鼠标移动和鼠标松开 。
methods: { // 按下滑动器 handleMouseDown(e) { document.addEventListener("mousemove", this.handleMouseMove) document.addEventListener("mouseup", this.handleMouseUp) }, // 按下滑动器后移动鼠标 handleMouseMove(e) { console.log("拖动中") }, // 松开滑动器 handleMouseUp() { document.removeEventListener("mousemove", this.handleMouseMove) } }

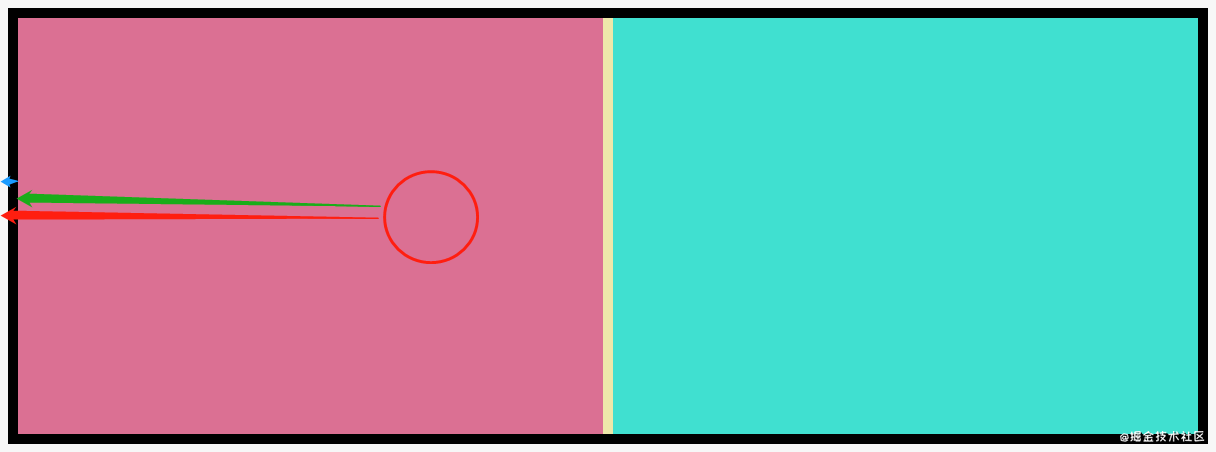
我们实际要控制的是区域1的宽度,让区域1的宽度等于当前鼠标距容器左边的距离,也就是如果鼠标移动到下图的圆圈位置,让区域1的宽度等于中间的长度:
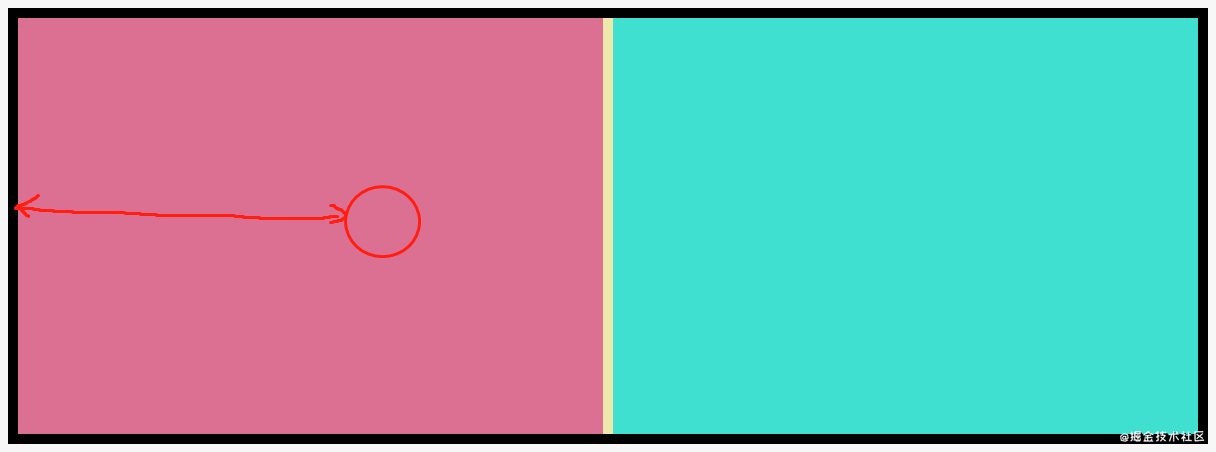
这个长度可以根据当前鼠标距页面最左边的距离减去容器距页面最左边的距离算出,也就是绿色长度等于红色减蓝色:
给容器添加ref为了获取容器的dom信息 。
...<div ref="splitPane" class="split-pane" :class="direction" :style="{ flexDirection: direction }">...
如果打印ref的getBoundingClientRect()可以看到如下信息:
console.log(this.$refs.splitPane.getBoundingClientRect())
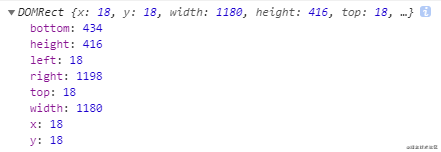
其中left代表容器距离页面左侧的距离,width代表容器的宽度。 通过鼠标事件对象event的pageX可以获得当前鼠标距页面左侧的距离,则我们要求的鼠标距容器左侧距离就可以算出来了。 最后用这个距离除以容器宽度乘上100,就得到了这个距离的百分比数值,赋值给paneLengthPercent.
// 按下滑动器后移动鼠标 handleMouseMove(e) { const clientRect = this.$refs.splitPane.getBoundingClientRect() const offset = e.pageX - clientRect.left const paneLengthPercent = (offset / clientRect.width) * 100 this.paneLengthPercent = paneLengthPercent },
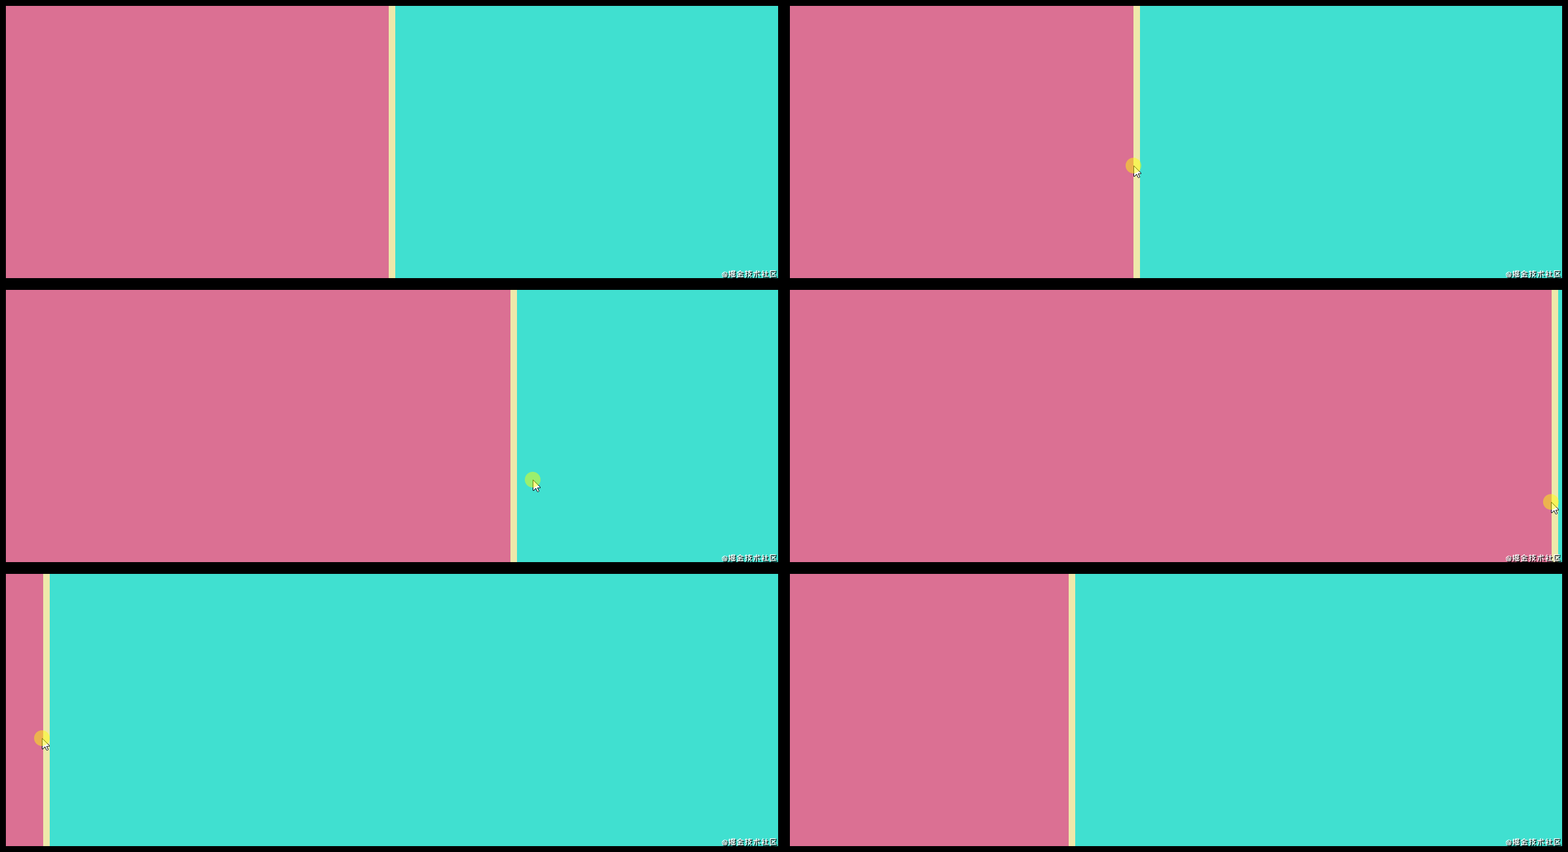
兼容纵向布局.
// 按下滑动器后移动鼠标 handleMouseMove(e) { const clientRect = this.$refs.splitPane.getBoundingClientRect() let paneLengthPercent = 0 if (this.direction === "row") { const offset = e.pageX - clientRect.left paneLengthPercent = (offset / clientRect.width) * 100 } else { const offset = e.pageY - clientRect.top paneLengthPercent = (offset / clientRect.height) * 100 } this.paneLengthPercent = paneLengthPercent },
此时看上去需求已经完成,但作为一个通用组件还有几个要优化的地方.
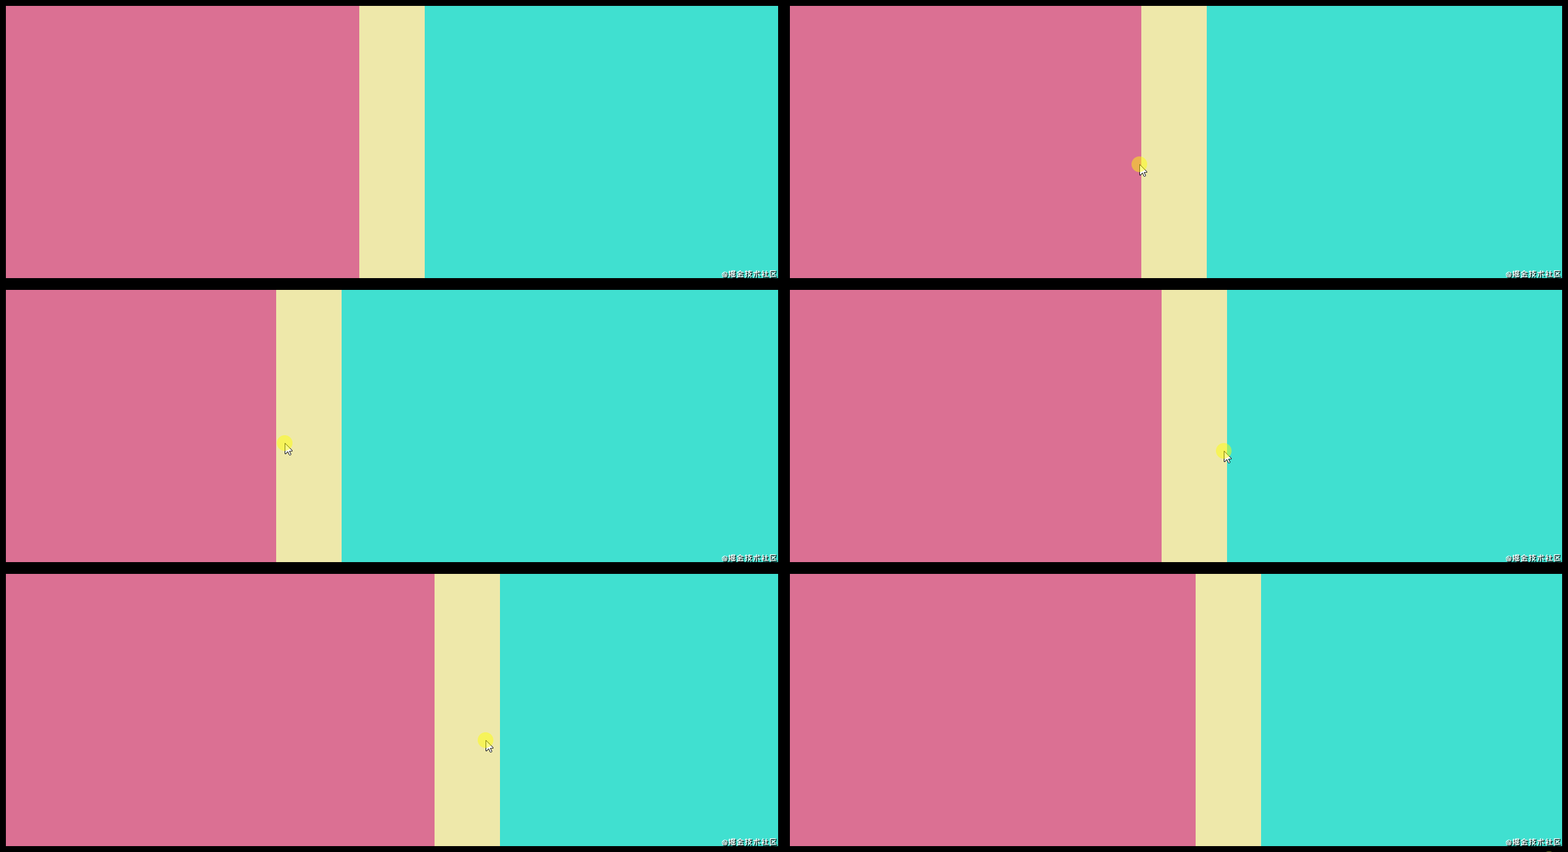
把滑动器宽度设置大一些后可以发现一个抖动问题如下:
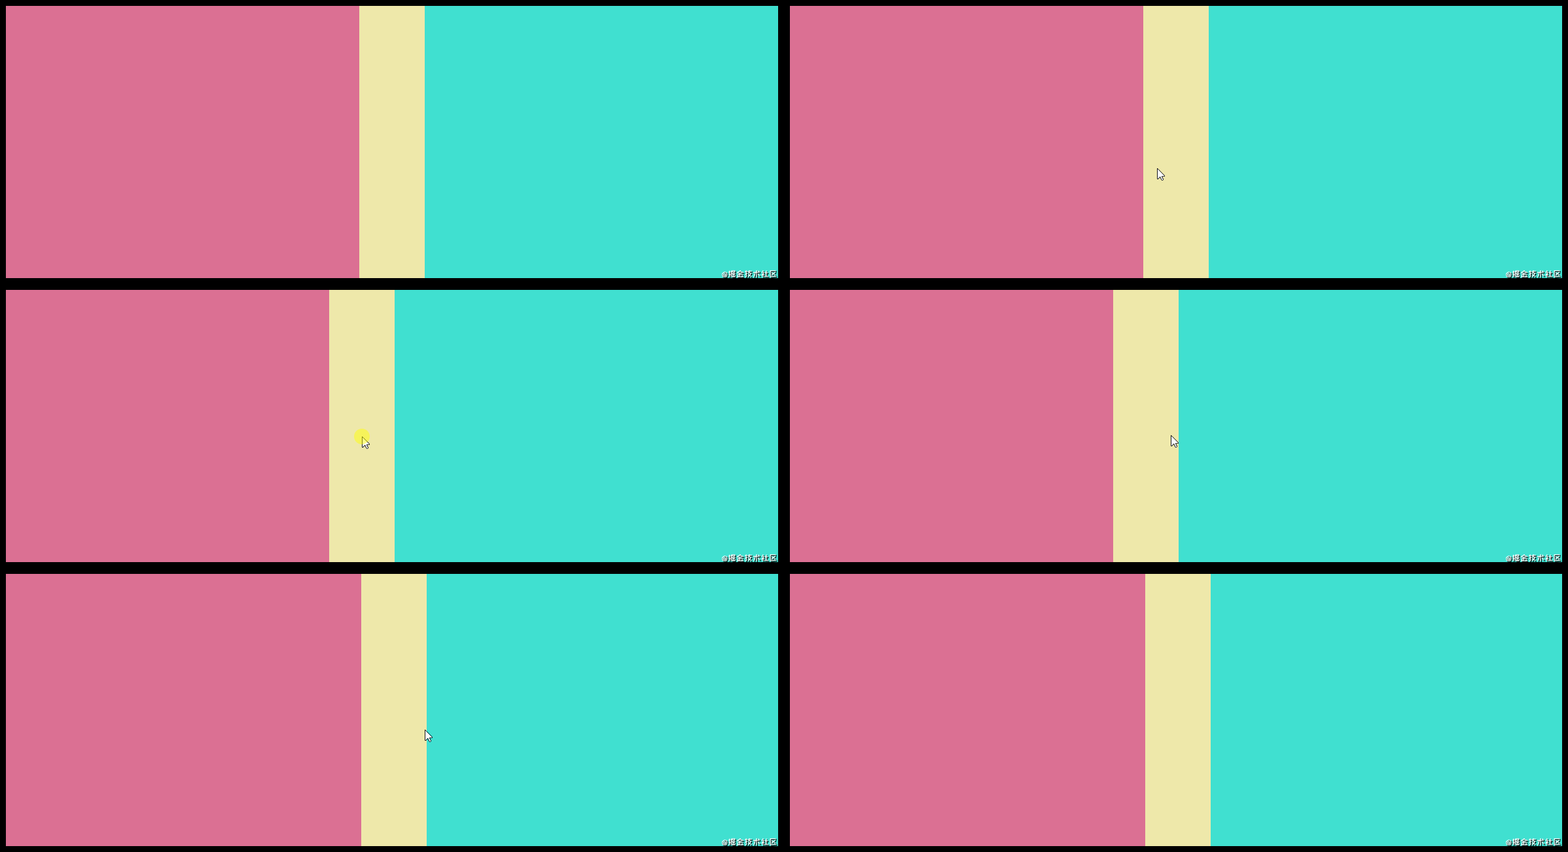
在滑动器两侧按下后轻轻移动就会出现大幅偏移,因为现在的计算逻辑始终认为鼠标在滑动器的正中间,没有把滑动器宽度考虑进去.
在dota中定义一个当前鼠标距滑动器左(顶)侧偏移量 。
data() { return { paneLengthPercent: 50, // 区域1宽度 (%) triggerLength: 100, // 滑动器宽度 (px) triggerLeftOffset: 0 // 鼠标距滑动器左(顶)侧偏移量 } }
这个值等于鼠标距页面左侧距离减去滑动器距页面左侧距离(通过e.srcElement.getBoundingClientRect()),在每次滑动器被按下时进行赋值,也要区分横向/纵向布局:红 - 蓝 = 绿 。
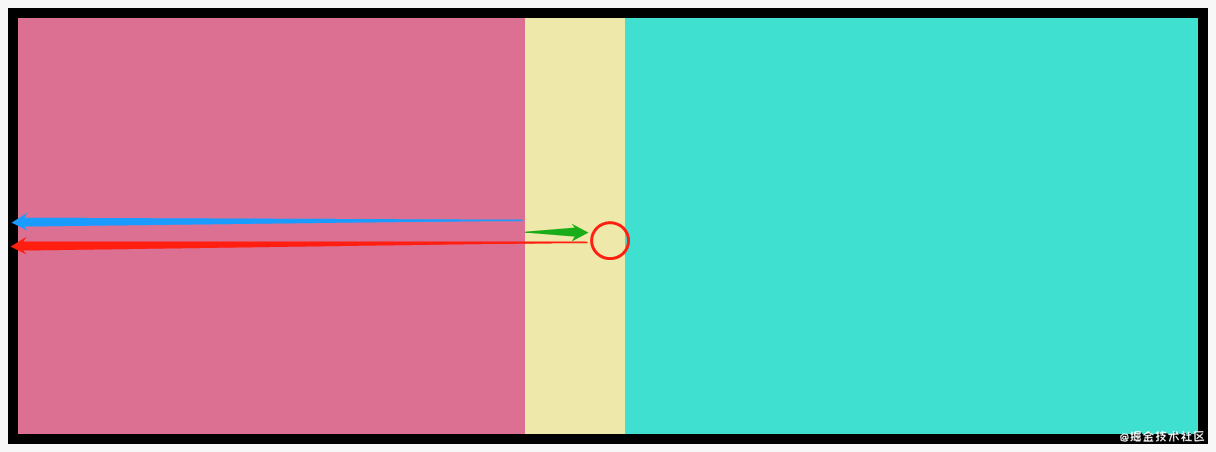
// 按下滑动器 handleMouseDown(e) { document.addEventListener("mousemove", this.handleMouseMove) document.addEventListener("mouseup", this.handleMouseUp) if (this.direction === "row") { this.triggerLeftOffset = e.pageX - e.srcElement.getBoundingClientRect().left } else { this.triggerLeftOffset = e.pageY - e.srcElement.getBoundingClientRect().top } },
有了这个triggerLeftOffset,设置区域1的宽度时就应该变成:鼠标距容器左侧距离 减去 鼠标距滑动器左侧的距离(triggerLeftOffset) 再加上滑动器宽度的一半。 这样就相当于把鼠标又定位回了滑动器正中间.
// 按下滑动器后移动鼠标 handleMouseMove(e) { const clientRect = this.$refs.splitPane.getBoundingClientRect() let paneLengthPercent = 0 if (this.direction === "row") { const offset = e.pageX - clientRect.left - this.triggerLeftOffset + this.triggerLength / 2 paneLengthPercent = (offset / clientRect.width) * 100 } else { const offset = e.pageY - clientRect.top - this.triggerLeftOffset + this.triggerLength / 2 paneLengthPercent = (offset / clientRect.height) * 100 } this.paneLengthPercent = paneLengthPercent },
此时不再有抖动问题 。
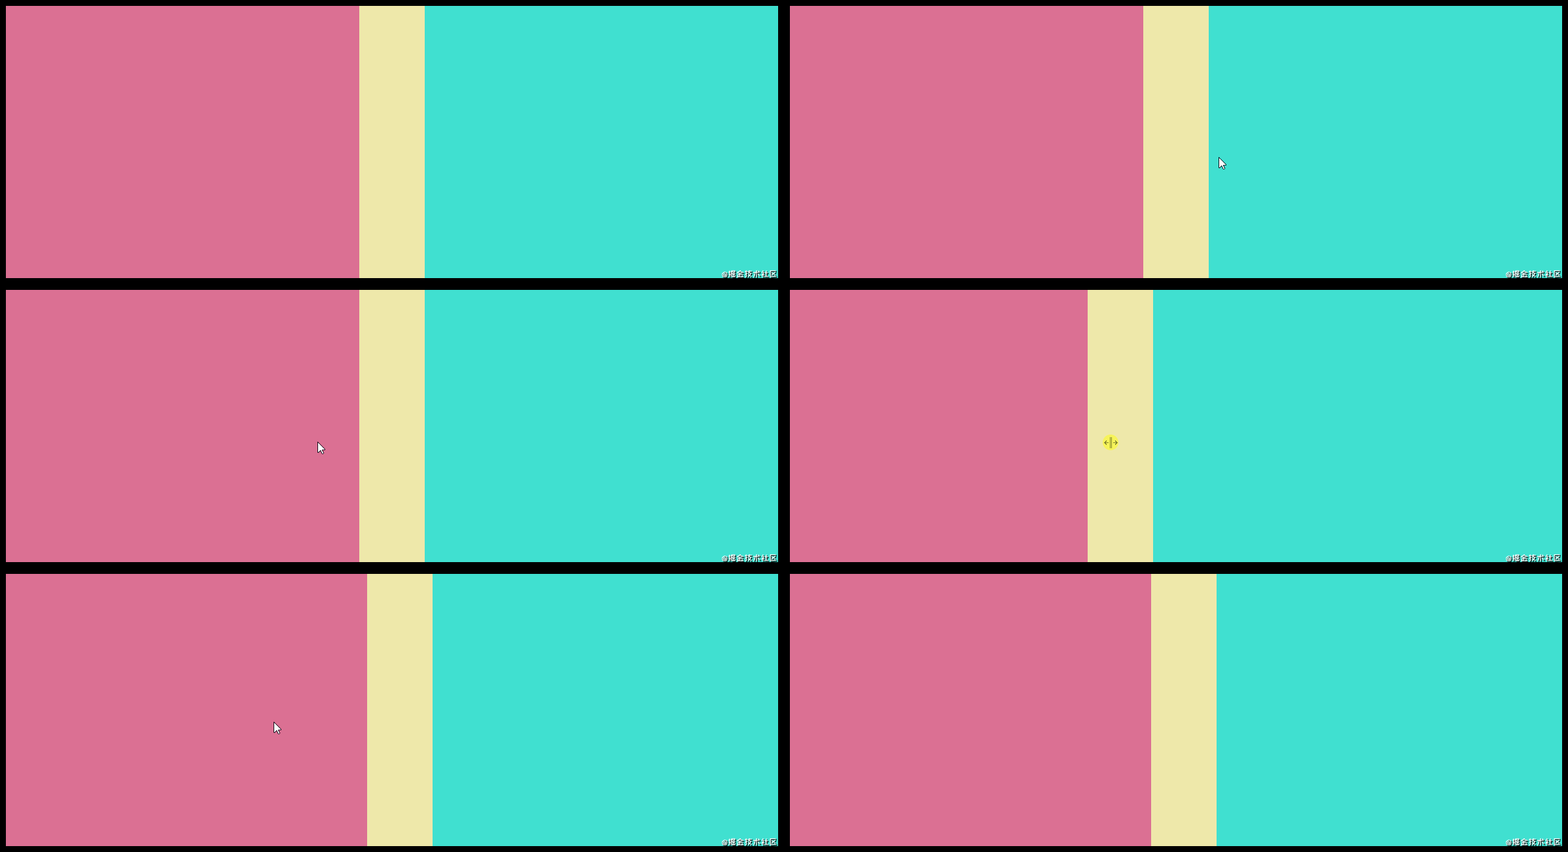
鼠标在滑动器上经过时应该改变样式告诉用户可以拖动,分别在横向布局与纵向布局的滑动器css中添加鼠标样式变化.
<style scoped lang="scss">.split-pane { background: palegreen; height: 100%; display: flex; &.row { .pane { height: 100%; } .pane-trigger { height: 100%; cursor: col-resize; // 这里 } } &.column { .pane { width: 100%; } .pane-trigger { width: 100%; cursor: row-resize; // 这里 } } .pane-one { background: palevioletred; } .pane-trigger { background: palegoldenrod; } .pane-two { flex: 1; background: turquoise; }}</style>
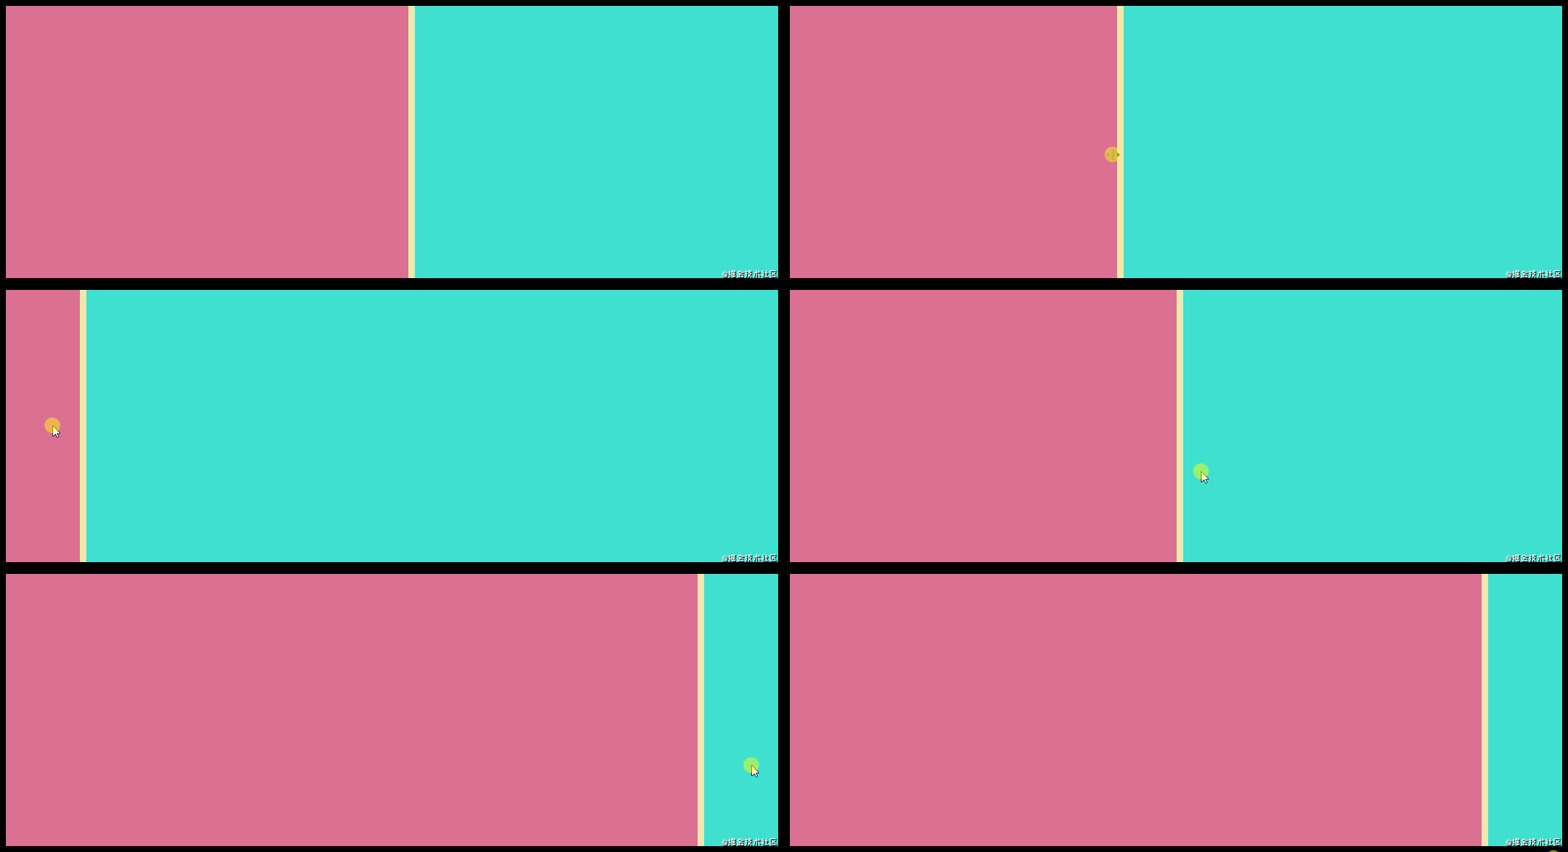
作为一个通用组件,应该向外部提供设置滑动最小与最大距离的限制功能,接收min与max两个props.
props: { direction: { type: String, default: "row" }, min: { type: Number, default: 10 }, max: { type: Number, default: 90 } },
在handleMouseMove加入判断:
// 按下滑动器后移动鼠标 handleMouseMove(e) { const clientRect = this.$refs.splitPane.getBoundingClientRect() let paneLengthPercent = 0 if (this.direction === "row") { const offset = e.pageX - clientRect.left - this.triggerLeftOffset + this.triggerLength / 2 paneLengthPercent = (offset / clientRect.width) * 100 } else { const offset = e.pageY - clientRect.top - this.triggerLeftOffset + this.triggerLength / 2 paneLengthPercent = (offset / clientRect.height) * 100 } if (paneLengthPercent < this.min) { paneLengthPercent = this.min } if (paneLengthPercent > this.max) { paneLengthPercent = this.max } this.paneLengthPercent = paneLengthPercent }
还是作为一个通用组件,面板初始化比例与滑动器宽度应该也由外部使用者决定。 将data中的paneLengthPercent 和 triggerLength转移到props中,从外部接收。 。
props: { direction: { type: String, default: "row" }, min: { type: Number, default: 10 }, max: { type: Number, default: 90 }, paneLengthPercent: { type: Number, default: 50 }, triggerLength: { type: Number, default: 10 } }, data() { return { triggerLeftOffset: 0 // 鼠标距滑动器左(顶)侧偏移量 } },
在页面中则需传入paneLengthPercent,注意paneLengthPercent必须是一个定义在data中的数据,并且要加上.sync修饰符,因为这个值要动态修改.
// page.vue<template> <div class="page"> <SplitPane direction="row" :paneLengthPercent.sync="paneLengthPercent" /> </div></template>... data() { return { paneLengthPercent: 30 } }...
然后在组件中handleMouseMove中通过this.$emit触发事件的方式修改paneLengthPercent值.
// 按下滑动器后移动鼠标 handleMouseMove(e) { const clientRect = this.$refs.splitPane.getBoundingClientRect() let paneLengthPercent = 0 if (this.direction === "row") { const offset = e.pageX - clientRect.left - this.triggerLeftOffset + this.triggerLength / 2 paneLengthPercent = (offset / clientRect.width) * 100 } else { const offset = e.pageY - clientRect.top - this.triggerLeftOffset + this.triggerLength / 2 paneLengthPercent = (offset / clientRect.height) * 100 } if (paneLengthPercent < this.min) { paneLengthPercent = this.min } if (paneLengthPercent > this.max) { paneLengthPercent = this.max } this.$emit("update:paneLengthPercent", paneLengthPercent) // 这里 },
此时组件的要素信息都可以通过外部的props控制了.
作为一个容器组件不能添加内容不是等于白费,分别给两个区域添加两个具名插槽.
<template> <div ref="splitPane" class="split-pane" :class="direction" :style="{ flexDirection: direction }"> <div class="pane pane-one" :style="lengthType + ":" + paneLengthValue"> <slot name="one"></slot> </div> <div class="pane-trigger" :style="lengthType + ":" + triggerLengthValue" @mousedown="handleMouseDown"> </div> <div class="pane pane-two"> <slot name="two"></slot> </div> </div></template>
在拖动过程中,如果区域中有文字内容可能会出现选中文字的情况,给滑动器添加禁止选中效果.
... .pane-trigger { user-select: none; background: palegoldenrod; }...
保留各背景色仅为了文章展示需要,实际使用中删除 。
<template> <div ref="splitPane" class="split-pane" :class="direction" :style="{ flexDirection: direction }"> <div class="pane pane-one" :style="lengthType + ":" + paneLengthValue"> <slot name="one"></slot> </div> <div class="pane-trigger" :style="lengthType + ":" + triggerLengthValue" @mousedown="handleMouseDown" ></div> <div class="pane pane-two"> <slot name="two"></slot> </div> </div></template><script>export default { props: { direction: { type: String, default: "row" }, min: { type: Number, default: 10 }, max: { type: Number, default: 90 }, paneLengthPercent: { type: Number, default: 50 }, triggerLength: { type: Number, default: 10 } }, data() { return { triggerLeftOffset: 0 // 鼠标距滑动器左(顶)侧偏移量 } }, computed: { lengthType() { return this.direction === "row" ? "width" : "height" }, paneLengthValue() { return `calc(${this.paneLengthPercent}% - ${this.triggerLength / 2 + "px"})` }, triggerLengthValue() { return this.triggerLength + "px" } }, methods: { // 按下滑动器 handleMouseDown(e) { document.addEventListener("mousemove", this.handleMouseMove) document.addEventListener("mouseup", this.handleMouseUp) if (this.direction === "row") { this.triggerLeftOffset = e.pageX - e.srcElement.getBoundingClientRect().left } else { this.triggerLeftOffset = e.pageY - e.srcElement.getBoundingClientRect().top } }, // 按下滑动器后移动鼠标 handleMouseMove(e) { const clientRect = this.$refs.splitPane.getBoundingClientRect() let paneLengthPercent = 0 if (this.direction === "row") { const offset = e.pageX - clientRect.left - this.triggerLeftOffset + this.triggerLength / 2 paneLengthPercent = (offset / clientRect.width) * 100 } else { const offset = e.pageY - clientRect.top - this.triggerLeftOffset + this.triggerLength / 2 paneLengthPercent = (offset / clientRect.height) * 100 } if (paneLengthPercent < this.min) { paneLengthPercent = this.min } if (paneLengthPercent > this.max) { paneLengthPercent = this.max } this.$emit("update:paneLengthPercent", paneLengthPercent) }, // 松开滑动器 handleMouseUp() { document.removeEventListener("mousemove", this.handleMouseMove) } }}</script><style scoped lang="scss">.split-pane { background: palegreen; height: 100%; display: flex; &.row { .pane { height: 100%; } .pane-trigger { height: 100%; cursor: col-resize; } } &.column { .pane { width: 100%; } .pane-trigger { width: 100%; cursor: row-resize; } } .pane-one { background: palevioletred; } .pane-trigger { user-select: none; background: palegoldenrod; } .pane-two { flex: 1; background: turquoise; }}</style>
保留各背景色仅为了文章展示需要,实际使用中删除 。
<template> <div class="page"> <SplitPane direction="column" :min="20" :max="80" :triggerLength="20" :paneLengthPercent.sync="paneLengthPercent" > <template v-slot:one> <div> 区域一 </div> </template> <template v-slot:two> <div> 区域二 </div> </template> </SplitPane> </div></template><script>import SplitPane from "./components/split-pane"export default { components: { SplitPane }, data() { return { paneLengthPercent: 30 } }}</script><style scoped lang="scss">.page { height: 100%; padding: 10px; background: #000;}</style>

到此这篇关于vue使用Split封装通用拖拽滑动分隔面板组件 的文章就介绍到这了,更多相关vue 拖拽滑动分隔面板 内容请搜索我以前的文章或继续浏览下面的相关文章希望大家以后多多支持我! 。
原文链接:https://juejin.cn/post/6941785036173606926 。
最后此篇关于vue使用Split封装通用拖拽滑动分隔面板组件的文章就讲到这里了,如果你想了解更多关于vue使用Split封装通用拖拽滑动分隔面板组件的内容请搜索CFSDN的文章或继续浏览相关文章,希望大家以后支持我的博客! 。
我需要使用封装打印3个变量,并且无法修改主类。 主类声明变量[汽缸、制造商、所有者],并希望使用如下参数创建和打印一个对象: System.out.println (new Vehicle (cyli
我正在研究“Beginning Ruby”这本书,在我进行封装之前一切都进行得很顺利。我明白这段代码在做什么,我只是不知道为什么要用这些方法设置它。 对于那些感兴趣的人 this is the lin
所以我一直在研究面向对象的完整开发 JavaScript 实践,并对以下示例感到好奇。 据我了解,(这对我来说很有意义)以下“ secret ”字段是“私有(private)”的: var MyObj
在面向对象程式设计方法中,封装(英语:Encapsulation)是指,一种将抽象性函式接口的实作细节部份包装、隐藏起来的方法。 封装可以被认为是一个保护屏障,防止该类的代码和数据被外部类定义的代
封装 被定义为 把一个或多个项目封闭在一个物理的或者逻辑的包中 。在面向对象程序设计方法论中,封装是为了防止对实现细节的访问。 抽象和封装是面向对象程序设计的相关特性。抽象允许相关信息可
今天我读了一本书,作者写道,在一个设计良好的类中,访问属性的唯一方法是通过其中一个类方法。这是一个被广泛接受的想法吗?为什么封装属性如此重要?不做会有什么后果?我早些时候在某处读到这可以提高安全性或类
今天我接受了软件工程职位的面试。我已经从 stackoverflow 中阅读了很多关于面试的内容。他们向我询问了与 OOP 相关的正常情况。但他们也问我这些: 没有继承就可以封装吗? 没有继承就可以抽
我正在制作一个简单的网站,并编写了gradle构建脚本,该脚本将执行诸如lint并最小化css / html / js之类的事情。 在这一阶段,我刚刚完成了正在运行的CSS,但是只是初始的非结构化格式
下面的幻灯片是指 C++ 语言,它说 "encapsulation is about ensuring the user uses our ADT in a safe way" 但是,如果他可以访问我
尝试设置一个 Person 类 我在尝试将信息封装在类中以使其不会被意外更改时遇到了问题。除了当我尝试使用 setter/getters 进行封装时,该类工作得非常好。我认为问题是这些方法最终会互相循
面向对象的概念:封装、数据抽象和数据隐藏是3个不同的概念,但彼此之间非常相关。所以我很难通过阅读互联网上的信息来完全理解这些概念。一个地方可用的信息与互联网上另一个地方的信息相矛盾。有人可以指导我阅读
我被封装困住了。在我看来,好像我已经按照规则做了一切,但仍然不起作用。虽然我知道我错过了一些东西。我正在使用 Eclipse。 我想要通过创建一副标准 52 张卡片来进行一些练习,并尝试我学到的新东西
在java中,要获取映射中的所有键,我们可以使用方法keySet。但我想知道为什么方法名称不只是 keys ?名称 Set 是否会泄露有关实现的详细信息? 据我了解,Java 是静态类型语言,名称中包
我正在尝试找出如何防止应用程序中的页面变量被全局定义。我想出了一些方法,但我想知道是否有人们使用的通用标准方法。 我使用这种方法得到了我的插件设计模式:http://www.virgentech.co
我有一个 tcp 连接,我想在服务器类的 HandleConnectionAsync 方法中保持打开状态。它将从客户端接收持续更新。 private async void HandleConnecti
这是我类(class)的一个小样本: #include #include using std::string; using std::vector; struct Book { string
我想要类似下面的代码: class Foo{ public: void update() { for( auto dataModifier : _dataModifierLis
这已经困扰我一段时间了,所以我问了一个同事他是否能理解它,现在我来了;) 为什么可以在依赖属性的 PropertyChangedCallback 中访问持有类的私有(private)成员? 让我通过这
我知道封装意味着一个对象不应该直接访问不同对象的成员……但我猜它与公共(public)领域有关?我假设公共(public)方法不会破坏封装..?我只是在这里不清楚,很高兴得到任何解释。 最佳答案
我就废话不多说了,大家还是直接看代码吧~ ? 1

我是一名优秀的程序员,十分优秀!