- ubuntu12.04环境下使用kvm ioctl接口实现最简单的虚拟机
- Ubuntu 通过无线网络安装Ubuntu Server启动系统后连接无线网络的方法
- 在Ubuntu上搭建网桥的方法
- ubuntu 虚拟机上网方式及相关配置详解
CFSDN坚持开源创造价值,我们致力于搭建一个资源共享平台,让每一个IT人在这里找到属于你的精彩世界.
这篇CFSDN的博客文章iOS自定义雷达扫描扩散动画由作者收集整理,如果你对这篇文章有兴趣,记得点赞哟.
本文实例为大家分享了iOS实现雷达扫描扩散动画的具体代码,供大家参考,具体内容如下 。
自己自定义了 一个雷达扫描/扩散效果的View.
扫描View 效果如下:

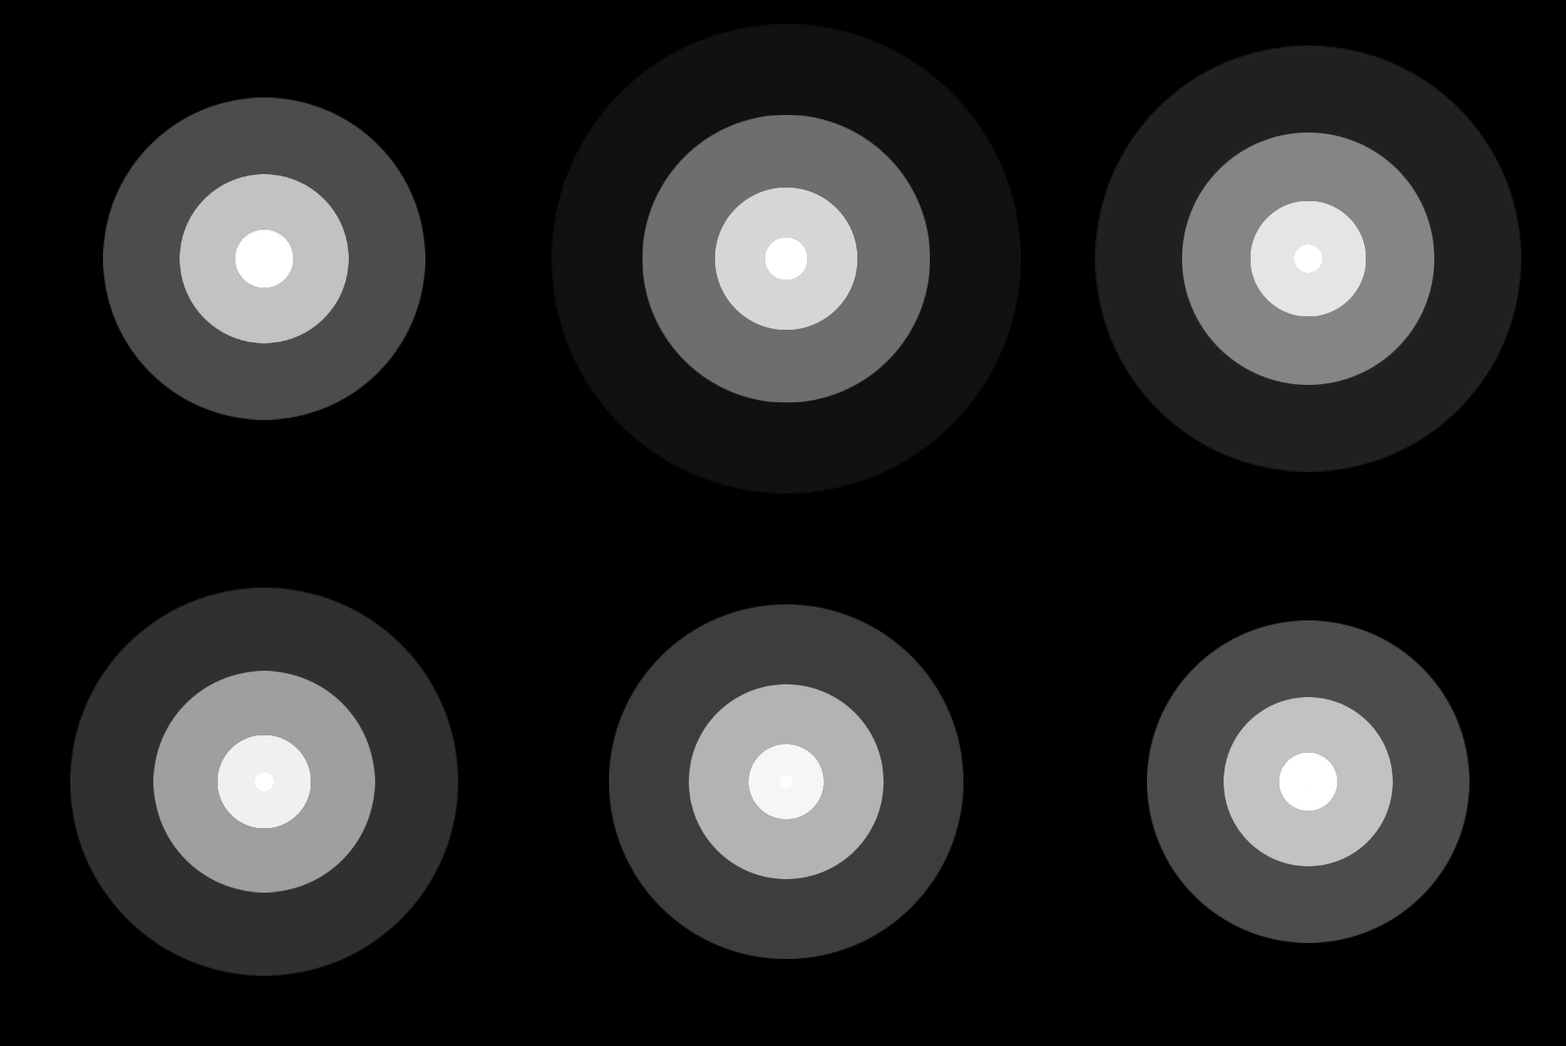
扩散View 效果如下:

自定义的代码如下:
1. RadarView.h 。
|
1
2
3
4
5
6
7
8
9
10
11
12
13
14
15
16
17
18
19
20
21
22
23
24
25
26
27
28
29
30
31
32
33
34
35
36
37
38
39
40
41
42
43
44
45
46
47
48
49
50
51
52
53
54
55
56
57
58
59
60
61
62
63
|
#import <UIKit/UIKit.h>
typedef
NS_ENUM(NSInteger, RadarViewType) {
RadarViewTypeScan,
RadarViewTypeDiffuse
};
@interface RadarView : UIView
/** 雷达 空心圆圈的颜色 */
@property (nonatomic, strong) UIColor * radarLineColor;
/** 扇形开始颜色 必须由RGBA值初始化
* [UIColor colorWithRed: green: blue: alpha:]
*/
@property (nonatomic, strong) UIColor * startColor;
/** 扇形结束颜色 必须由RGBA值初始化
* [UIColor colorWithRed: green: blue: alpha:]
*/
@property (nonatomic, strong) UIColor * endColor;
/**
*
* @param radius 半径
* @param angle 角度
* @param radarLineNum 雷达线数量
* @param hollowRadius 空心圆半径
*
* @return 扫描 雷达 View
*/
+ (RadarView *)scanRadarViewWithRadius:(CGFloat)radius
angle:(
int
)angle
radarLineNum:(
int
)radarLineNum
hollowRadius:(CGFloat)hollowRadius;
/**
*
* @param startRadius 扩散圆 起始的半径
* @param endRadius 扩散圆 消失的半径
* @param circleColor 扩散圆 的颜色
*
* @return 扩散 雷达 View
*/
+ (RadarView *)diffuseRadarViewWithStartRadius:(CGFloat)startRadius
endRadius:(CGFloat)endRadius
circleColor:(UIColor *)circleColor;
/**
* 展示在targerView上
*
* @param targerView <#targerView description#>
*/
- (
void
)showTargetView:(UIView *)targerView;
- (
void
)dismiss;
/** 开始扫描动画 */
- (
void
)startAnimatian;
/** 停止扫描动画 */
- (
void
)stopAnimation;
@end
|
2. RadarView.m 。
|
1
2
3
4
5
6
7
8
9
10
11
12
13
14
15
16
17
18
19
20
21
22
23
24
25
26
27
28
29
30
31
32
33
34
35
36
37
38
39
40
41
42
43
44
45
46
47
48
49
50
51
52
53
54
55
56
57
58
59
60
61
62
63
64
65
66
67
68
69
70
71
72
73
74
75
76
77
78
79
80
81
82
83
84
85
86
87
88
89
90
91
92
93
94
95
96
97
98
99
100
101
102
103
104
105
106
107
108
109
110
111
112
113
114
115
116
117
118
119
120
121
122
123
124
125
126
127
128
129
130
131
132
133
134
135
136
137
138
139
140
141
142
143
144
145
146
147
148
149
150
151
152
153
154
155
156
157
158
159
160
161
162
163
164
165
166
167
168
169
170
171
172
173
174
175
176
177
178
179
180
181
182
183
184
185
186
187
188
189
190
191
192
193
194
195
196
197
198
199
200
201
202
203
204
205
206
207
208
209
210
211
212
213
214
215
216
217
218
219
220
221
222
223
224
225
226
227
228
229
230
231
232
233
234
235
236
237
|
#import "RadarView.h"
#define CenterX self.bounds.size.width*0.5
#define CenterY self.bounds.size.height*0.5
#define DefaultRadarLineColor [UIColor colorWithWhite:1 alpha:0.7]
#define DefaultStartColor [UIColor colorWithRed:1 green:1 blue:1 alpha:0.5]
#define DefaultEndColor [UIColor colorWithRed:1 green:1 blue:1 alpha:0]
#define DefaultCircleColor [UIColor colorWithWhite:1 alpha:0.5]
@interface RadarView ()
#pragma mark - 扫描类型的RadarView 属性
/** 扇形半径 */
@property (nonatomic, assign) CGFloat sectorRadius;
/** 扇形 角度 */
@property (nonatomic, assign)
int
angle;
/** 雷达 空心圆圈的数量 */
@property (nonatomic, assign)
int
radarLineNum;
/** 中心 空心圆的半径 (一般 这里放置一个圆形的头像) */
@property (nonatomic, assign)
int
hollowRadius;
#pragma mark - 扩散类型的RadarView 属性
/** 扩散动画 起始 的半径 */
@property (nonatomic, assign) CGFloat startRadius;
/** 扩散动画 结束 的半径 */
@property (nonatomic, assign) CGFloat endRadius;
/** 圆圈的颜色 */
@property (nonatomic, strong) UIColor * circleColor;
@property (nonatomic, strong) NSTimer * timer;
@property (nonatomic, assign) RadarViewType radarViewType;
@end
@implementation RadarView
+ (RadarView *)scanRadarViewWithRadius:(CGFloat)radius angle:(
int
)angle radarLineNum:(
int
)radarLineNum hollowRadius:(CGFloat)hollowRadius {
return
[[self alloc] initWithRadius:radius angle:angle radarLineNum:radarLineNum hollowRadius:hollowRadius];
}
- (instancetype)initWithRadius:(CGFloat)radius
angle:(
int
)angle
radarLineNum:(
int
)radarLineNum
hollowRadius:(CGFloat)hollowRadius {
if
(self = [super init]) {
self.radarViewType = RadarViewTypeScan;
self.sectorRadius = radius;
self.frame = CGRectMake(0, 0, radius*2, radius*2);
self.angle = angle;
self.radarLineNum = radarLineNum-1;
self.hollowRadius = hollowRadius;
self.backgroundColor = [UIColor clearColor];
}
return
self;
}
+ (RadarView *)diffuseRadarViewWithStartRadius:(CGFloat)startRadius endRadius:(CGFloat)endRadius circleColor:(UIColor *)circleColor {
return
[[self alloc] initWithStartRadius:startRadius endRadius:endRadius circleColor:circleColor];
}
- (instancetype)initWithStartRadius:(CGFloat)startRadius endRadius:(CGFloat)endRadius circleColor:(UIColor *)circleColor {
if
(self = [super init]) {
self.radarViewType = RadarViewTypeDiffuse;
self.frame = CGRectMake(0, 0, endRadius*2, endRadius*2);
self.startRadius = startRadius;
self.endRadius = endRadius;
self.circleColor = circleColor;
self.backgroundColor = [UIColor clearColor];
}
return
self;
}
// Only override drawRect: if you perform custom drawing.
// An empty implementation adversely affects performance during animation.
- (
void
)drawRect:(CGRect)rect {
// Drawing code
if
(_radarViewType == RadarViewTypeScan) {
if
(!_startColor) {
_startColor = DefaultStartColor;
}
if
(!_endColor) {
_endColor = DefaultEndColor;
}
if
(!_radarLineColor) {
_radarLineColor = DefaultRadarLineColor;
}
// 画雷达线
[self drawRadarLine];
CGContextRef context = UIGraphicsGetCurrentContext();
// 把要画的扇形 分开画,一次画1°,每次的颜色渐变
for
(
int
i = 0; i < _angle; i++) {
UIColor * color = [self colorWithCurrentAngleProportion:i*1.0/_angle];
[self drawSectorWithContext:context color:color startAngle:-90-i];
}
}
}
/** 画扇形 */
- (
void
)drawSectorWithContext:(CGContextRef)context
color:(UIColor *)color
startAngle:(CGFloat)startAngle {
//画扇形,也就画圆,只不过是设置角度的大小,形成一个扇形
CGContextSetFillColorWithColor(context, color.CGColor);
//填充颜色
CGContextSetLineWidth(context, 0);
//线的宽度
//以self.radius为半径围绕圆心画指定角度扇形
CGContextMoveToPoint(context, CenterX, CenterY);
CGContextAddArc(context, CenterX, CenterY, _sectorRadius, startAngle * M_PI / 180, (startAngle-1) * M_PI / 180, 1);
CGContextClosePath(context);
CGContextDrawPath(context, kCGPathFillStroke);
//绘制路径
}
/** 画雷达线 */
- (
void
)drawRadarLine {
CGFloat minRadius = (_sectorRadius-_hollowRadius)*(
pow
(0.618, _radarLineNum-1));
/** 画 围着空心半径的第一个空心圆,此圆不在计数内 */
[self drawLineWithRadius:_hollowRadius+minRadius*0.382];
for
(
int
i = 0; i < _radarLineNum; i++) {
[self drawLineWithRadius:_hollowRadius + minRadius/
pow
(0.618, i)];
}
}
/** 画空心圆 */
- (
void
)drawLineWithRadius:(CGFloat)radius {
CAShapeLayer *solidLine = [CAShapeLayer layer];
CGMutablePathRef solidPath = CGPathCreateMutable();
solidLine.lineWidth = 1.0f ;
solidLine.strokeColor = _radarLineColor.CGColor;
solidLine.fillColor = [UIColor clearColor].CGColor;
CGPathAddEllipseInRect(solidPath, nil, CGRectMake(self.bounds.size.width*0.5-radius, self.bounds.size.height*0.5-radius, radius*2, radius*2));
solidLine.path = solidPath;
CGPathRelease(solidPath);
[self.layer addSublayer:solidLine];
}
#pragma mark - 展示
- (
void
)showTargetView:(UIView *)targerView {
self.center = targerView.center;
[targerView addSubview:self];
}
#pragma mark -
- (
void
)dismiss {
[self removeFromSuperview];
}
#pragma mark - 开始动画
- (
void
)startAnimatian {
if
(_radarViewType == RadarViewTypeScan) {
CABasicAnimation* rotationAnimation;
rotationAnimation = [CABasicAnimation animationWithKeyPath:@
"transform.rotation.z"
];
rotationAnimation.toValue = [NSNumber numberWithFloat: 1 * M_PI * 2.0 ];
rotationAnimation.duration = 2;
rotationAnimation.cumulative = YES;
rotationAnimation.repeatCount = INT_MAX;
[self.layer addAnimation:rotationAnimation forKey:@
"rotationAnimation"
];
}
else
{
[self diffuseAnimation];
_timer = [NSTimer scheduledTimerWithTimeInterval:0.5 target:self selector:@selector(diffuseAnimation) userInfo:nil repeats:YES];
}
}
#pragma mark - 结束动画
- (
void
)stopAnimation {
if
(_radarViewType == RadarViewTypeScan) {
[self.layer removeAnimationForKey:@
"rotationAnimation"
];
}
else
{
[_timer invalidate];
_timer = nil;
}
}
- (UIColor *)colorWithCurrentAngleProportion:(CGFloat)angleProportion {
NSArray * startRGBA = [self RGBA_WithColor:_startColor];
NSArray * endRGBA = [self RGBA_WithColor:_endColor];
CGFloat currentR = [startRGBA[0] floatValue] - ([startRGBA[0] floatValue]-[endRGBA[0] floatValue]) * angleProportion;
CGFloat currentG = [startRGBA[1] floatValue] - ([startRGBA[1] floatValue]-[endRGBA[1] floatValue]) * angleProportion;
CGFloat currentB = [startRGBA[2] floatValue] - ([startRGBA[2] floatValue]-[endRGBA[2] floatValue]) * angleProportion;
CGFloat currentA = [startRGBA[3] floatValue] - ([startRGBA[3] floatValue]-[endRGBA[3] floatValue]) * angleProportion;
return
[UIColor colorWithRed:currentR green:currentG blue:currentB alpha:currentA];
}
/**
* 将UIColor对象解析成RGBA 值 的数组
*
* @param color UIColor对象,有RGBA值 初始化的
*[UIColor colorWithRed:rValue green:gValue blue:bValue alpha:aValue]
*
* @return 包含RGBA值得数组[rValue, gValue, bValue, aValue]
*/
- (NSArray *)RGBA_WithColor:(UIColor *)color {
NSString * colorStr = [NSString stringWithFormat:@
"%@"
, color];
//将RGB值描述分隔成字符串
NSArray * colorValueArray = [colorStr componentsSeparatedByString:@
" "
];
NSString * R = colorValueArray[1];
NSString * G = colorValueArray[2];
NSString * B = colorValueArray[3];
NSString * A = colorValueArray[4];
return
@[R, G, B, A];
}
/** 画圆 */
- (UIImage *)drawCircle {
UIGraphicsBeginImageContext(CGSizeMake(_endRadius*2, _endRadius*2));
CGContextRef context = UIGraphicsGetCurrentContext();
CGContextMoveToPoint(context, CenterX, CenterY);
CGContextSetFillColorWithColor(context, _circleColor.CGColor);
CGContextAddArc(context, CenterX, CenterY, _endRadius, 0, -2*M_PI, 1);
CGContextFillPath(context);
UIImage * img = UIGraphicsGetImageFromCurrentImageContext();
UIGraphicsEndImageContext();
return
img;
}
- (
void
)diffuseAnimation {
UIImageView * imgView = [[UIImageView alloc] init];
imgView.image = [self drawCircle];
imgView.frame = CGRectMake(0, 0, _startRadius, _startRadius);
imgView.center = CGPointMake(CenterX, CenterY);
[self addSubview:imgView];
[UIView animateWithDuration:2 delay:0 options:UIViewAnimationOptionCurveEaseIn animations:^{
imgView.frame = CGRectMake(0, 0, _endRadius*2, _endRadius*2);
imgView.center = CGPointMake(CenterX, CenterY);
imgView.alpha = 0;
} completion:^(
BOOL
finished) {
[imgView removeFromSuperview];
}];
}
@end
|
3. ViewController.m 中使用的代码:
|
1
2
3
4
5
6
7
8
9
10
11
12
13
14
15
16
17
18
19
20
21
22
23
24
25
26
27
28
29
30
31
32
33
34
35
36
37
|
#import "ViewController.h"
#import "RadarView.h"
@interface ViewController ()
@property (nonatomic, strong) RadarView * scanRadarView;
@property (nonatomic, strong) RadarView * diffuseRadarView;
@end
@implementation ViewController
- (
void
)viewDidLoad {
[super viewDidLoad];
/** 扫描 类型 RadarView */
// _scanRadarView = [RadarView scanRadarViewWithRadius:self.view.bounds.size.width*0.5 angle:400 radarLineNum:5 hollowRadius:0];
/** 扩散 类型 RadarView */
_diffuseRadarView = [RadarView diffuseRadarViewWithStartRadius:7 endRadius:self.view.bounds.size.width*0.5 circleColor:[UIColor whiteColor]];
}
- (
void
)viewDidAppear:(
BOOL
)animated {
[super viewDidAppear:animated];
// [_scanRadarView showTargetView:self.view];
// [_scanRadarView startAnimatian];
[_diffuseRadarView showTargetView:self.view];
[_diffuseRadarView startAnimatian];
}
- (
void
)didReceiveMemoryWarning {
[super didReceiveMemoryWarning];
// Dispose of any resources that can be recreated.
}
@end
|
现在定义的是能代码加载使用,等有空了,再封装一些方法能在Storyboard中直接使用.
以上就是本文的全部内容,希望对大家的学习有所帮助,也希望大家多多支持我.
原文链接:https://blog.csdn.net/CBlog_life/article/details/60324262 。
最后此篇关于iOS自定义雷达扫描扩散动画的文章就讲到这里了,如果你想了解更多关于iOS自定义雷达扫描扩散动画的内容请搜索CFSDN的文章或继续浏览相关文章,希望大家以后支持我的博客! 。
我想尝试用 Java OpenGL 构建雷达。基本上,在该方法中,您传递玩家的当前位置、玩家面对的角度以及敌人的位置。如果敌人就在正前方,那么红点(象征敌人)应该在圆圈(雷达)的顶部,可以说是0度。如
我只是对声纳设备有一个总体的思考。声纳结果如何用数据类型表示。 目前我想出的解决方案是拥有一个 360 2D array,其值表明物体被击中时的距离,最大范围意味着那里什么也没有。这样做的问题是,对于
我有一个雷达图Js。 我不知道如何在区域内放置径向渐变。放置当前代码时,默认只取1种颜色作为background-color 当前代码: let ctx = document.getElementBy
我用在线生成器实现了 amChart。这是结果: https://live.amcharts.com/ODVhY/ 如您所见,带有值的标签仅在红牛上可见。 如何将其扩展到所有 5 个项目符号? 我的配
我需要一种灵活的方法在 ggplot2 中制作雷达/蜘蛛图。从我在 github 和 ggplot2 组上找到的解决方案,我已经走到了这一步: library(ggplot2) # Define a
我想用radare2调试程序“id3v2 -c halo test.mp3”。 如何将参数“-c halo test.mp3”传递给radare2? 我只用 rarun2 找到了一些东西,但是当我这样
我在哪里可以找到适用于 iOS 的优秀蜘蛛(雷达)图表库? (如下图) 我检查了“Core Plot”和“iOSPlot”开源项目,但这些都不支持蜘蛛图。 BR,元一。 最佳答案 在 Github 上

我是一名优秀的程序员,十分优秀!