
 个人中心
个人中心 文章发布
文章发布
作者热门文章
- iOS/Objective-C 元类和类别
- objective-c - -1001 错误,当 NSURLSession 通过 httpproxy 和/etc/hosts
- java - 使用网络类获取 url 地址
- ios - 推送通知中不播放声音


 42
42
 4
4


我没有图像或图形方面的背景,所以请耐心等待 :)
我正在使用 JavaCV在我的一个项目中。在examples , 构建了一个 Frame,它有一个 certain size 的缓冲区.
在Android中使用public void onPreviewFrame(byte[] data, Camera camera)函数时,复制这个data字节数组是没有问题的,如果你声明Frame as new Frame(frameWidth, frameHeight, Frame.DEPTH_UBYTE, 2); 其中 frameWidth 和 frameHeight 声明为
Camera.Size previewSize = cameraParam.getPreviewSize();
int frameWidth = previewSize.width;
int frameHeight = previewSize.height;
最近,Android 添加了一种捕获屏幕的方法。自然地,我想抓取这些图像并将它们转换为 Frame。我修改了the example code from Google使用 ImageReader .
此 ImageReader 构造为 ImageReader.newInstance(DISPLAY_WIDTH, DISPLAY_HEIGHT, PixelFormat.RGBA_8888, 2);。所以目前它使用 RGBA_8888 像素格式。我使用以下代码将字节复制到 Frame,它被实例化为 new Frame(DISPLAY_WIDTH, DISPLAY_HEIGHT, Frame.DEPTH_UBYTE, 2);:
ByteBuffer buffer = mImage.getPlanes()[0].getBuffer();
byte[] bytes = new byte[buffer.remaining()];
buffer.get(bytes);
mImage.close();
((ByteBuffer) frame.image[0].position(0)).put(bytes);
但这给了我一个 java.nio.BufferOverflowException。我打印了两个缓冲区的大小,Frame 的缓冲区大小为 691200,而上面的 bytes 数组的大小为 1413056。由于I ran into this native call,弄清楚后一个数字是如何构造的失败了。 .很明显,这是行不通的。
经过大量挖掘后,我发现 NV21 image format是“相机预览图像的默认格式,当没有使用 setPreviewFormat(int) 设置时”,但是 ImageReader class does not support the NV21 format (请参阅格式参数)。所以运气不好。在文档中它还读到“对于 android.hardware.camera2 API,建议使用 YUV_420_888 格式代替 YUV 输出。”
所以我尝试创建一个像这样的 ImageReader ImageReader.newInstance(DISPLAY_WIDTH, DISPLAY_HEIGHT, ImageFormat.YUV_420_888, 2);,但这给了我 java.lang.UnsupportedOperationException: The producer output缓冲区格式 0x1 与 ImageReader 配置的缓冲区格式 0x23 不匹配。 因此这也不起作用。
作为最后的手段,我尝试自己将 RGBA_8888 转换为 YUV,例如使用this post ,但我不明白如何根据答案获得 int[] rgba。
所以,长话短说 我怎样才能像在 Android 的 public void onPreviewFrame(byte[] data, Camera camera) 相机函数中获取 NV21 图像数据来实例化我的 Frame 并使用 Android 的 ImageReader(和 Media Projection)处理它?</strong>
我创建了以下可运行的转换以从 RGBA 格式转换为 NV21 格式:
private class updateImage implements Runnable {

    private final Image mImage;

    public updateImage(Image image) {
        mImage = image;
    }

    @Override
    public void run() {

        int mWidth = mImage.getWidth();
        int mHeight = mImage.getHeight();

        // Four bytes per pixel: width * height * 4.
        byte[] rgbaBytes = new byte[mWidth * mHeight * 4];
        // put the data into the rgbaBytes array.
        mImage.getPlanes()[0].getBuffer().get(rgbaBytes);

        mImage.close(); // Access to the image is no longer needed, release it.

        // Create a yuv byte array: width * height * 1.5 ().
        byte[] yuv = new byte[mWidth * mHeight * 3 / 2];
        RGBtoNV21(yuv, rgbaBytes, mWidth, mHeight);
        ((ByteBuffer) yuvImage.image[0].position(0)).put(yuv);
    }

    void RGBtoNV21(byte[] yuv420sp, byte[] argb, int width, int height) {
        final int frameSize = width * height;

        int yIndex = 0;
        int uvIndex = frameSize;

        int A, R, G, B, Y, U, V;
        int index = 0;
        int rgbIndex = 0;

        for (int i = 0; i < height; i++) {
            for (int j = 0; j < width; j++) {

                R = argb[rgbIndex++];
                G = argb[rgbIndex++];
                B = argb[rgbIndex++];
                A = argb[rgbIndex++]; // Ignored right now.

                // RGB to YUV conversion according to
                // https://en.wikipedia.org/wiki/YUV#Y.E2.80.B2UV444_to_RGB888_conversion
                Y = ((66 * R + 129 * G + 25 * B + 128) >> 8) + 16;
                U = ((-38 * R - 74 * G + 112 * B + 128) >> 8) + 128;
                V = ((112 * R - 94 * G - 18 * B + 128) >> 8) + 128;

                // NV21 has a plane of Y and interleaved planes of VU each sampled by a factor
                // of 2 meaning for every 4 Y pixels there are 1 V and 1 U.
                // Note the sampling is every other pixel AND every other scanline.
                yuv420sp[yIndex++] = (byte) ((Y < 0) ? 0 : ((Y > 255) ? 255 : Y));
                if (i % 2 == 0 && index % 2 == 0) {
                    yuv420sp[uvIndex++] = (byte) ((V < 0) ? 0 : ((V > 255) ? 255 : V));
                    yuv420sp[uvIndex++] = (byte) ((U < 0) ? 0 : ((U > 255) ? 255 : U));
                }
                index++;
            }
        }
    }
}
yuvImage 对象被初始化为 yuvImage = new Frame(DISPLAY_WIDTH, DISPLAY_HEIGHT, Frame.DEPTH_UBYTE, 2);,DISPLAY_WIDTH 和DISPLAY_HEIGHT 只是指定显示大小的两个整数。这是后台处理程序处理 onImageReady 的代码:
private final ImageReader.OnImageAvailableListener mOnImageAvailableListener
            = new ImageReader.OnImageAvailableListener() {

        @Override
        public void onImageAvailable(ImageReader reader) {
            mBackgroundHandler.post(new updateImage(reader.acquireNextImage()));
        }

    };

...

mImageReader = ImageReader.newInstance(DISPLAY_WIDTH, DISPLAY_HEIGHT, PixelFormat.RGBA_8888, 2);
mImageReader.setOnImageAvailableListener(mOnImageAvailableListener, mBackgroundHandler);
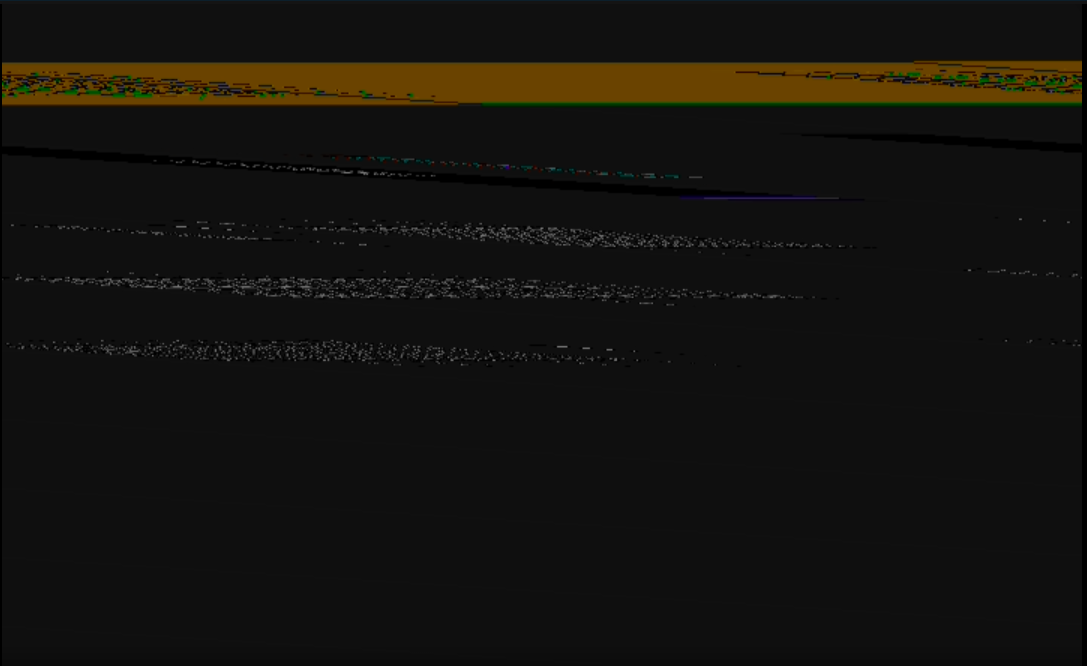
这些方法有效,我至少没有收到任何错误,但输出图像格式不正确。我的转换出了什么问题?正在创建的示例图像:
我已将 RGBtoNV21 函数修改为以下内容:
void RGBtoNV21(byte[] yuv420sp, int width, int height) {
    try {
        final int frameSize = width * height;

        int yIndex = 0;
        int uvIndex = frameSize;
        int pixelStride = mImage.getPlanes()[0].getPixelStride();
        int rowStride = mImage.getPlanes()[0].getRowStride();
        int rowPadding = rowStride - pixelStride * width;
        ByteBuffer buffer = mImage.getPlanes()[0].getBuffer();

        Bitmap bitmap = Bitmap.createBitmap(getResources().getDisplayMetrics(), width, height, Bitmap.Config.ARGB_8888);

        int A, R, G, B, Y, U, V;
        int offset = 0;

        for (int i = 0; i < height; i++) {
            for (int j = 0; j < width; j++) {

                // Useful link: https://stackoverflow.com/questions/26673127/android-imagereader-acquirelatestimage-returns-invalid-jpg

                R = (buffer.get(offset) & 0xff) << 16;     // R
                G = (buffer.get(offset + 1) & 0xff) << 8;  // G
                B = (buffer.get(offset + 2) & 0xff);       // B
                A = (buffer.get(offset + 3) & 0xff) << 24; // A
                offset += pixelStride;

                int pixel = 0;
                pixel |= R;     // R
                pixel |= G;  // G
                pixel |= B;       // B
                pixel |= A; // A
                bitmap.setPixel(j, i, pixel);

                // RGB to YUV conversion according to
                // https://en.wikipedia.org/wiki/YUV#Y.E2.80.B2UV444_to_RGB888_conversion
//                        Y = ((66 * R + 129 * G + 25 * B + 128) >> 8) + 16;
//                        U = ((-38 * R - 74 * G + 112 * B + 128) >> 8) + 128;
//                        V = ((112 * R - 94 * G - 18 * B + 128) >> 8) + 128;

                Y = (int) Math.round(R *  .299000 + G *  .587000 + B *  .114000);
                U = (int) Math.round(R * -.168736 + G * -.331264 + B *  .500000 + 128);
                V = (int) Math.round(R *  .500000 + G * -.418688 + B * -.081312 + 128);

                // NV21 has a plane of Y and interleaved planes of VU each sampled by a factor
                // of 2 meaning for every 4 Y pixels there are 1 V and 1 U.
                // Note the sampling is every other pixel AND every other scanline.
                yuv420sp[yIndex++] = (byte) ((Y < 0) ? 0 : ((Y > 255) ? 255 : Y));
                if (i % 2 == 0 && j % 2 == 0) {
                    yuv420sp[uvIndex++] = (byte) ((V < 0) ? 0 : ((V > 255) ? 255 : V));
                    yuv420sp[uvIndex++] = (byte) ((U < 0) ? 0 : ((U > 255) ? 255 : U));
                }
            }
            offset += rowPadding;
        }

        File file = new File(Environment.getExternalStoragePublicDirectory(Environment.DIRECTORY_PICTURES).getAbsolutePath(), "/Awesomebitmap.png");
        FileOutputStream fos = new FileOutputStream(file);
        bitmap.compress(Bitmap.CompressFormat.PNG, 100, fos);
    } catch (Exception e) {
        Timber.e(e, "Converting image to NV21 went wrong.");
    }
}
现在图像不再畸形,但色度已关闭。
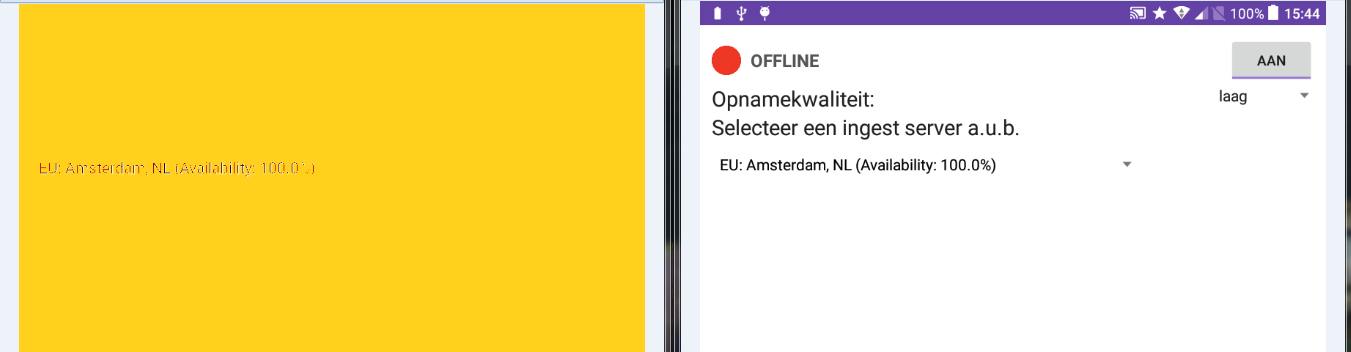
右侧是在该循环中创建的位图,左侧是保存到图像的 NV21。所以 RGB 像素被正确处理。显然色度已关闭,但 RGB 到 YUV 的转换应该与维基百科描述的相同。这里可能出了什么问题?
最佳答案
一般来说,ImageReader 的目的是让您以最小的开销原始访问发送到 Surface 的像素,因此尝试让它执行颜色转换没有意义。
对于相机,您可以选择两种输出格式(NV21 或 YV12)中的一种,因此请选择 YV12。那是你的原始 YUV 数据。对于屏幕捕获,输出将始终为 RGB,因此您需要选择 RGBA_8888 (format 0x1)对于您的 ImageReader,而不是 YUV_420_888 (format 0x23) .如果为此需要 YUV,则必须自己进行转换。 ImageReader 为您提供了一系列 Plane 对象,而不是 byte[],因此您需要适应它。
关于Android ImageReader 获取 NV21 格式?,我们在Stack Overflow上找到一个类似的问题: https://stackoverflow.com/questions/35709241/
42
4
 0
0
有没有办法使用 Clojure format(基于 java.util.Formatter)或 cl-format(基于 Common Lisp 的format) 以编程方式设置空格填充?如果您事先知
我正在尝试创建一个用户实体以及数据/文件(pdf格式)。上传并保存到数据库很好,但是当我让用户进入 postman 时尝试发送获取请求方法,然后在数据字段中显示一些糟糕的数据,而且我无法在数据库中看到
我必须将值为 {"STX","ETX"} 的普通字符串数组转换为十六进制值,并且我应该根据 http://www.asciitable.com/ 得到 {2,3} . 最佳答案 听起来你想要一个 Ma
我想格式化我的代码,但不确定哪种格式类型最适合我的项目需要。 我发现仅对于 dart 和 flutter 项目(我都有),有不止一个选项可用于格式化编程语言/框架中预先构建的代码。 Dart : da
我已经尝试了多个代码,例如这样 Sub DateFixer() Application.ScreenUpdating = False Application.Calculation =
SolrQuery query = new SolrQuery(); query.setQuery("*:*"); query.add("wt","csv"); server.query(query)
我有一个包含多个字符串的数据库,我从查询中获取了这些记录,并且我在 QString 中收到了这种格式的数据: "Mon, 13 Nov 2017 09:48:45 +0000" 所以,我需要根据文化来
我有一个 Delphi 2007 DBGrid,我想让用户以更新的 Excel 格式 (OOXML) 保存它,但我的标准是用户不需要安装 Excel。有没有人知道任何已经这样做的组件?是的,我已经搜索
我正在我们的普通 html 站点旁边创建一个移动站点。使用 rails 3.1。移动站点在子域 m.site.com 中访问。 我已经定义了移动格式(Mime::Type.register_alias
我正在尝试使用 xmlstarlet 格式化 xml 文件,但我不想创建新的 xml 文件。 我试过了 xmlstarlet fo --inplace --indent-tab --omit-decl
我在 A 列中有一个带有文本的电子表格。 例如 A1=MY TEXT1 A2=MY TEXT2 A3=MY TEXT3 A4=MY TEXT4 A5=MY TEXT5 我想在文本的前后添加撇号 结果是
我想做一些源代码转换(自动导入列表清理),我想保留注释和格式。我听说过一些关于解析器这样做的事情,我认为是 ghc 解析器。 看起来我可以通过从文件中提取内容来使用 hs-src-exts Langu
我在 Excel 中工作,我想根据另一张表中的列表找出一张表中是否有匹配项。 我已将值粘贴到列表中,并希望从另一张表中返回它们的相应值。包含字母和数字的单元格可以正常工作(例如:D5765000),但
我有一个 DurationField在我的模型中定义为 day0 = models.DurationField('Duration for Monday', default=datetime.time
我正在为我的应用程序开发 WMI 查询。它需要为给定的 VID/PID 找到分配的虚拟 COM 端口。使用 WMI Code Creator 我发现...... 命名空间:root\CIMV2 类:W
我试图弄清楚如何使用 NSTextList,但除了 this SO question 之外,在网上几乎没有找到有用的信息。和 the comment in this blog . 使用这个我已经能够创
我要查询all_objects表在哪里last_ddl_time='01 jan 2010'但它拒绝日期格式... 任何机构给我查询的确切格式? 最佳答案 正如 AKF 所说,您应该使用 Trunc除
我试图在我的应用程序中实现聊天功能。我使用了 2 个 JEditorPane。一个用于保存聊天记录,另一个用于将聊天发送到前一个 JEditorPane。 JEditorPane 是 text/h
我在大学里修了一个编译器类(class),内容非常丰富,很有趣,尽管也很多工作。既然给了我们要实现的语言规范,所以我学不到的一件事就是语言设计。我现在正在考虑创建一种有趣的简单玩具语言,以便我可以玩耍
Closed. This question does not meet Stack Overflow guidelines。它当前不接受答案。 想改善这个问题吗?更新问题,以便将其作为on-topic

我是一名优秀的程序员,十分优秀!