- Java锁的逻辑(结合对象头和ObjectMonitor)
- 还在用饼状图?来瞧瞧这些炫酷的百分比可视化新图形(附代码实现)⛵
- 自动注册实体类到EntityFrameworkCore上下文,并适配ABP及ABPVNext
- 基于Sklearn机器学习代码实战
本篇主要介绍一下 ViewPager2 + Fragment + BottomNavigationView , 上篇中把ViewPager2和Fragment 联动起来了, 本篇主要把 BottomNavigationView集成进去 。

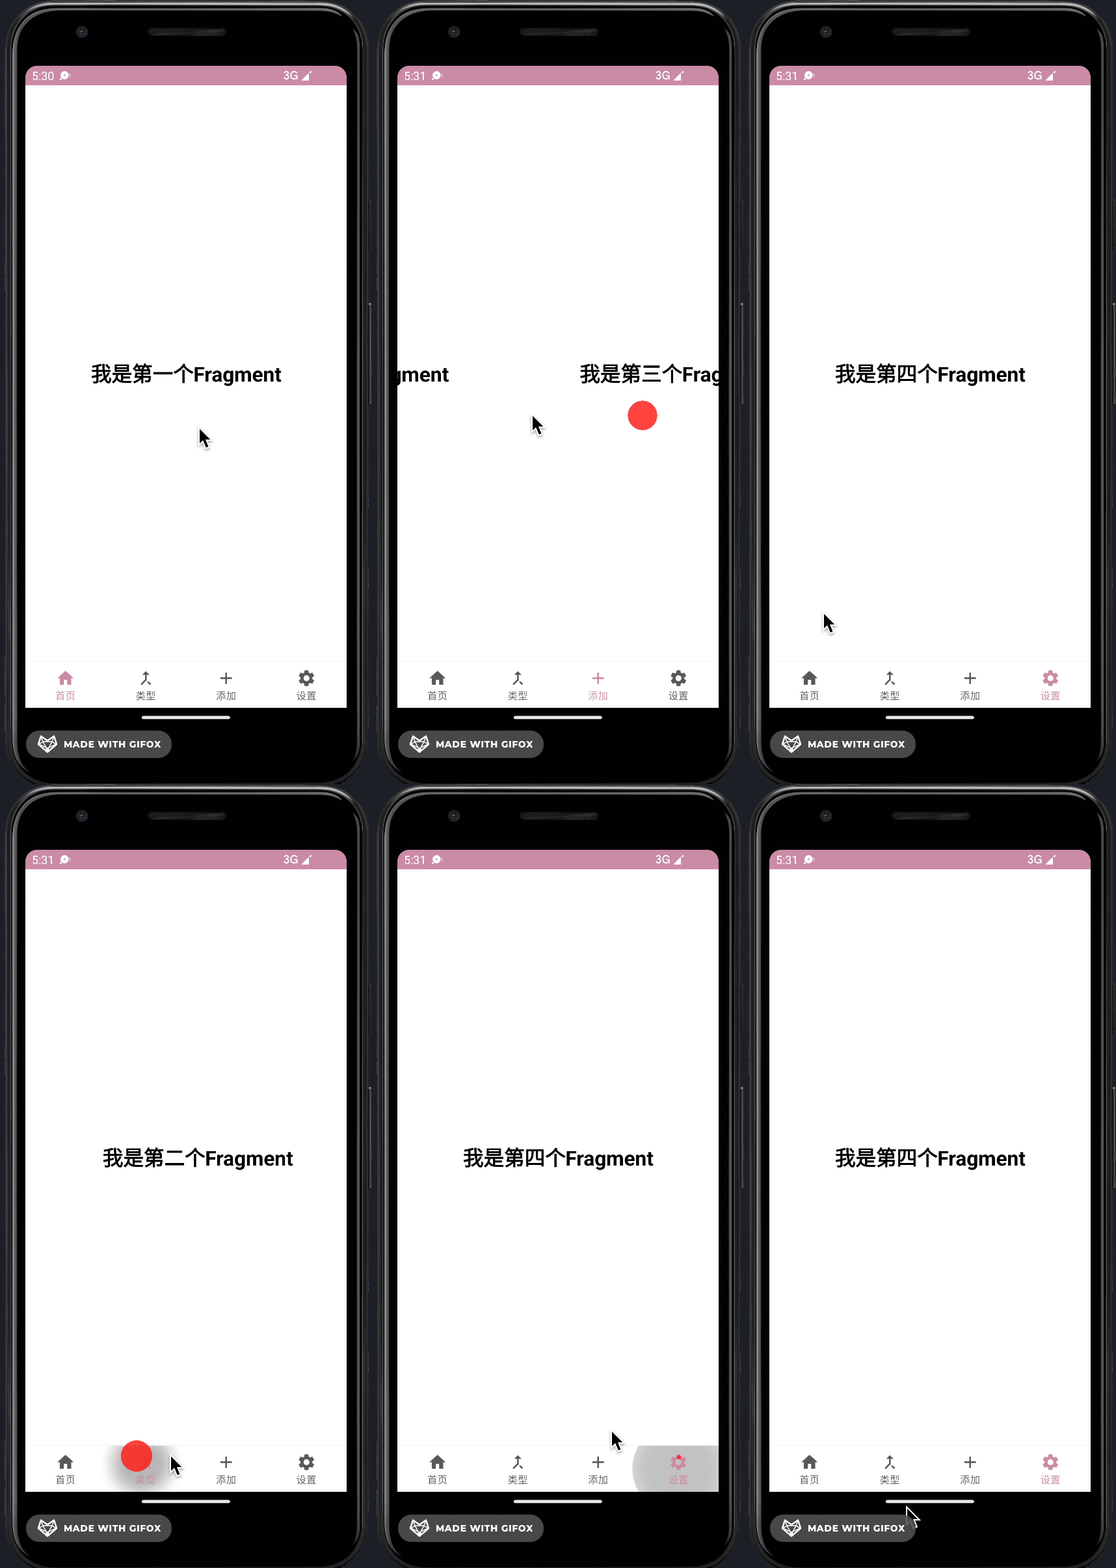
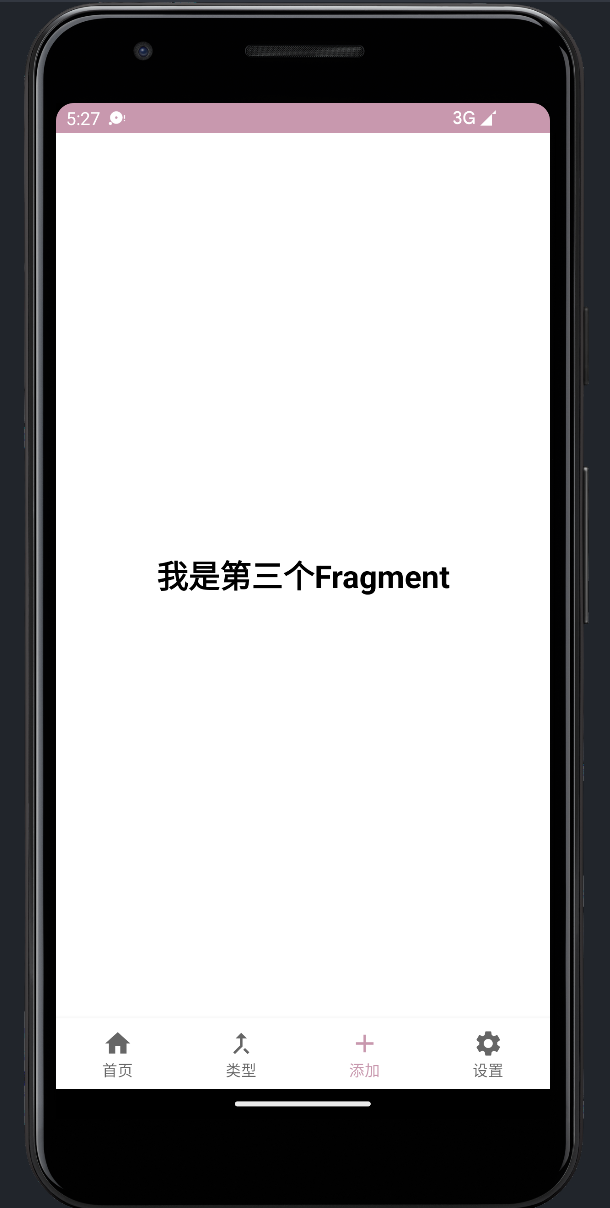
BottomNavigationView 是一个底部导航控件, 现在要实现的效果就是 滑动ViewPager2 中的Fragment 并且底部BottomNavigationView 菜单部分跟着联动 同理反过来 点击BottomNavigationView 的时候 ViewPager2中的Fragment 也对应滑动, 下面来看看如何实现的吧 。
编写menu文件 提供给BottomNavigationView 用于展示 编写Adapter 实现 FragmentStateAdapter 下面就来按照上面的思路一步步实现代码啦.
                          <?xml version="1.0" encoding="utf-8"?>
<androidx.constraintlayout.widget.ConstraintLayout xmlns:android="http://schemas.android.com/apk/res/android"
    xmlns:app="http://schemas.android.com/apk/res-auto"
    xmlns:tools="http://schemas.android.com/tools"
    android:layout_width="match_parent"
    android:layout_height="match_parent"
    tools:context=".ViewPager2BottomActivity">


    <androidx.viewpager2.widget.ViewPager2
        android:id="@+id/viewpager2bottom"
        android:layout_width="match_parent"
        android:layout_height="0dp"
        app:layout_constraintStart_toStartOf="parent"
        app:layout_constraintTop_toTopOf="parent"
        app:layout_constraintBottom_toTopOf="@id/bootomnav2"
        />


</androidx.constraintlayout.widget.ConstraintLayout>
图标icon 自己配置吧 。
                          <?xml version="1.0" encoding="utf-8"?>
<menu xmlns:android="http://schemas.android.com/apk/res/android">

    <item
        android:title="首页"
        android:id="@+id/home_item"
        android:icon="@drawable/ic_baseline_home_24"
        />

    <item
        android:title="类型"
        android:id="@+id/type_item"
        android:icon="@drawable/ic_baseline_merge_type_24"
        />

    <item
        android:title="添加"
        android:id="@+id/add_item"
        android:icon="@drawable/ic_baseline_add_24"
        />

    <item
        android:title="设置"
        android:id="@+id/setting_item"
        android:icon="@drawable/ic_baseline_settings_24"
        />
</menu>
                          package com.johnny.slzzing;

import android.os.Bundle;

import androidx.annotation.NonNull;
import androidx.annotation.Nullable;
import androidx.fragment.app.Fragment;

import android.view.LayoutInflater;
import android.view.View;
import android.view.ViewGroup;
import android.widget.TextView;

import org.w3c.dom.Text;

/**
 * A simple {@link Fragment} subclass.
 * Use the {@link Bottom2Fragment#newInstance} factory method to
 * create an instance of this fragment.
 */
public class Bottom2Fragment extends Fragment {

    // TODO: Rename parameter arguments, choose names that match
    // the fragment initialization parameters, e.g. ARG_ITEM_NUMBER
    private static final String ARG_PARAM1 = "param1";
    private static final String ARG_PARAM2 = "param2";

    // TODO: Rename and change types of parameters
    private String mParam1;
    private String mParam2;

    public Bottom2Fragment() {
        // Required empty public constructor
    }

    /**
     * Use this factory method to create a new instance of
     * this fragment using the provided parameters.
     *
     * @param param1 Parameter 1.
     * @param param2 Parameter 2.
     * @return A new instance of fragment Bottom2Fragment.
     */
    // TODO: Rename and change types and number of parameters
    public static Bottom2Fragment newInstance(String param1, String param2) {
        Bottom2Fragment fragment = new Bottom2Fragment();
        Bundle args = new Bundle();
        args.putString(ARG_PARAM1, param1);
        args.putString(ARG_PARAM2, param2);
        fragment.setArguments(args);
        return fragment;
    }

    @Override
    public void onCreate(Bundle savedInstanceState) {
        super.onCreate(savedInstanceState);
        if (getArguments() != null) {
            mParam1 = getArguments().getString(ARG_PARAM1);
            mParam2 = getArguments().getString(ARG_PARAM2);
        }
    }

    @Override
    public View onCreateView(LayoutInflater inflater, ViewGroup container,
                             Bundle savedInstanceState) {
        // Inflate the layout for this fragment
        return inflater.inflate(R.layout.fragment_bottom2, container, false);
    }

    @Override
    public void onViewCreated(@NonNull View view, @Nullable Bundle savedInstanceState) {
        super.onViewCreated(view, savedInstanceState);
        TextView textView = view.findViewById(R.id.textview2);
        //把动态传入的参数设置到 textView上
        textView.setText(mParam1);
    }
}
fragment_bottom2.xml 。
                          <?xml version="1.0" encoding="utf-8"?>
<androidx.constraintlayout.widget.ConstraintLayout xmlns:android="http://schemas.android.com/apk/res/android"
    xmlns:app="http://schemas.android.com/apk/res-auto"
    xmlns:tools="http://schemas.android.com/tools"
    android:layout_width="match_parent"
    android:layout_height="match_parent"
    tools:context=".ViewPager2BottomActivity">


    <androidx.viewpager2.widget.ViewPager2
        android:id="@+id/viewpager2bottom"
        android:layout_width="match_parent"
        android:layout_height="0dp"
        app:layout_constraintStart_toStartOf="parent"
        app:layout_constraintTop_toTopOf="parent"
        app:layout_constraintBottom_toTopOf="@id/bootomnav2"
        />

    <com.google.android.material.bottomnavigation.BottomNavigationView
        android:id="@+id/bootomnav2"
        android:layout_width="match_parent"
        android:layout_height="wrap_content"
        app:layout_constraintTop_toBottomOf="@id/viewpager2bottom"
        app:layout_constraintBottom_toBottomOf="parent"
        app:layout_constraintStart_toStartOf="parent"
        app:menu="@menu/bottom_item_menu"
        app:labelVisibilityMode="labeled"
        />
<!-- 这个要设置 app:labelVisibilityMode="labeled"  才能显示图标文字 因为我这里超过了3个-->
</androidx.constraintlayout.widget.ConstraintLayout>
                          <?xml version="1.0" encoding="utf-8"?>
<androidx.constraintlayout.widget.ConstraintLayout xmlns:android="http://schemas.android.com/apk/res/android"
    xmlns:tools="http://schemas.android.com/tools"
    android:layout_width="match_parent"
    android:layout_height="match_parent"
    xmlns:app="http://schemas.android.com/apk/res-auto"
    tools:context=".Bottom2Fragment">

    <!-- TODO: Update blank fragment layout -->
    <TextView
        android:id="@+id/textview2"
        android:layout_width="match_parent"
        android:layout_height="match_parent"
        android:text="@string/hello_blank_fragment"
        app:layout_constraintStart_toStartOf="parent"
        app:layout_constraintTop_toTopOf="parent"
        android:gravity="center"
        android:textSize="25sp"
        android:textStyle="bold"
        android:textColor="@color/black"
        />

</androidx.constraintlayout.widget.ConstraintLayout>
编写Adapter 实现 FragmentStateAdapter 上篇已经说过了 直接继承 FragmentStateAdapter 。
                          class MyViewPager2BottomAdapter extends FragmentStateAdapter {

    List<Fragment> fragmentList;
    public MyViewPager2BottomAdapter(@NonNull FragmentActivity fragmentActivity, List<Fragment> list) {
        super(fragmentActivity);
        this.fragmentList = list;
    }

    @NonNull
    @Override
    public Fragment createFragment(int position) {
        return fragmentList.get(position);
    }

    @Override
    public int getItemCount() {
        return fragmentList.size();
    }
}
bottomNavigationView.setOnItemSelectedListener核心方法 。
Acitivity 中实现如下代码
                            protected void onCreate(Bundle savedInstanceState) {
        super.onCreate(savedInstanceState);
        setContentView(R.layout.activity_view_pager2_bottom);

        viewPager2 = findViewById(R.id.viewpager2bottom);
        bottomNavigationView = findViewById(R.id.bootomnav2);
        MyViewPager2BottomAdapter myViewPager2BottomAdapter =
                new MyViewPager2BottomAdapter(this,initFragmentList());
        viewPager2.setAdapter(myViewPager2BottomAdapter);
        //重点 设置 bottomNavigationView 的item 的点击事件 设置viewPager2的联动
        bottomNavigationView.setOnItemSelectedListener(new NavigationBarView.OnItemSelectedListener() {
            @Override
            public boolean onNavigationItemSelected(@NonNull MenuItem item) {
                int itemId = item.getItemId();
                switch (itemId){
                    case R.id.home_item:
                        viewPager2.setCurrentItem(0);
                        break;
                    case R.id.type_item:
                        viewPager2.setCurrentItem(1);
                        break;
                    case R.id.add_item:
                        viewPager2.setCurrentItem(2);
                        break;
                    case R.id.setting_item:
                        viewPager2.setCurrentItem(3);
                        break;
                }
                return true;
            }
        });

    }
                          protected void onCreate(Bundle savedInstanceState) {
    super.onCreate(savedInstanceState);
    setContentView(R.layout.activity_view_pager2_bottom);

    viewPager2 = findViewById(R.id.viewpager2bottom);
    bottomNavigationView = findViewById(R.id.bootomnav2);
    MyViewPager2BottomAdapter myViewPager2BottomAdapter =
            new MyViewPager2BottomAdapter(this,initFragmentList());
    viewPager2.setAdapter(myViewPager2BottomAdapter);

    bottomNavigationView.setOnItemSelectedListener(new NavigationBarView.OnItemSelectedListener() {
        @Override
        public boolean onNavigationItemSelected(@NonNull MenuItem item) {
            int itemId = item.getItemId();
            switch (itemId){
                case R.id.home_item:
                    viewPager2.setCurrentItem(0);
                    break;
                case R.id.type_item:
                    viewPager2.setCurrentItem(1);
                    break;
                case R.id.add_item:
                    viewPager2.setCurrentItem(2);
                    break;
                case R.id.setting_item:
                    viewPager2.setCurrentItem(3);
                    break;
            }
            return true;
        }
    });
     //重点 实现滑动的时候 联动 bottomNavigationView的selectedItem
    viewPager2.registerOnPageChangeCallback(new ViewPager2.OnPageChangeCallback() {
        @Override
        public void onPageSelected(int position) {
            super.onPageSelected(position);
            switch (position){
                case 0:
                    bottomNavigationView.setSelectedItemId(R.id.home_item);
                    break;
                case 1:
                    bottomNavigationView.setSelectedItemId(R.id.type_item);
                    break;
                case 2:
                    bottomNavigationView.setSelectedItemId(R.id.add_item);
                    break;
                case 3:
                    bottomNavigationView.setSelectedItemId(R.id.setting_item);
                    break;
            }
        }
    });

}

本篇主要介绍了 如何把ViewPager2 + Fragment + BottomNavigationView 集成起来并且实现ViewPager2和BottomNavigationView的双向联动 。
ViewPager和ViewPager2 一些区别
欢迎大家访问 个人博客 Johnny小屋 欢迎关注个人公众号 。

最后此篇关于AndroidViewPager2+Fragment+BottomNavigationView联动的文章就讲到这里了,如果你想了解更多关于AndroidViewPager2+Fragment+BottomNavigationView联动的内容请搜索CFSDN的文章或继续浏览相关文章,希望大家以后支持我的博客! 。

我是一名优秀的程序员,十分优秀!