
 个人中心
个人中心 文章发布
文章发布
作者热门文章
- Java锁的逻辑(结合对象头和ObjectMonitor)
- 还在用饼状图?来瞧瞧这些炫酷的百分比可视化新图形(附代码实现)⛵
- 自动注册实体类到EntityFrameworkCore上下文,并适配ABP及ABPVNext
- 基于Sklearn机器学习代码实战


 27
27
 4
4


Nginx 是一个高性能的 Web 和反向代理服务器, 它具有有很多非常优越的特性
Web服务器:相比 Apache,Nginx 使用更少的资源,支持更多的并发连接,体现更高的效率,这点使 Nginx 尤其受到虚拟主机提供商的欢迎。能够支持高达 50,000 个并发连接数的响应,感谢 Nginx 为我们选择了 epoll and kqueue 作为开发模型. 。
负载均衡服务器:Nginx 既可以在内部直接支持 Rails 和 PHP,也可以支持作为 HTTP代理服务器 对外进行服务。Nginx 用 C 编写, 不论是系统资源开销还是 CPU 使用效率都比 Perlbal 要好的多.
邮件代理服务器: Nginx 同时也是一个非常优秀的邮件代理服务器(最早开发这个产品的目的之一也是作为邮件代理服务器),Last.fm 描述了成功并且美妙的使用经验.
Nginx 安装非常的简单,且Nginx 启动特别容易,并且几乎可以做到24小时不间断运行,即使运行数个月也不需要重新启动。你还能够在不间断服务的情况下进行软件版本的升级。接下来我们要针对于安装和运维操作进行实战和分析.
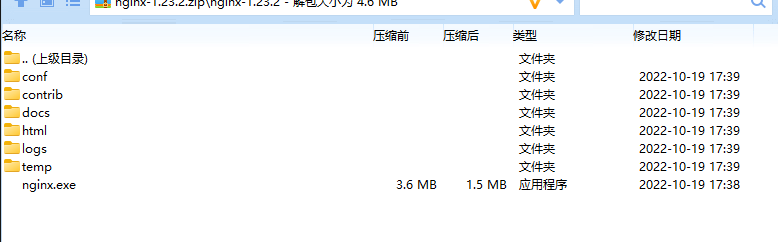
使用CMD命令start命令启动nginx,再运行nginx,到nginx所在目录,如果启动前已经启动nginx并记录下pid文件,会kill指定进程,按照指定配置去启动nginx 。
nginx.exe -c conf/nginx.conf
-t:代表测试配置文件语法正确性 。
nginx.exe -c -t conf\nginx.conf
nginx.exe -s stop
nginx.exe -v
启动成功后,浏览器访问 localhost,即可看到Nginx 欢迎页 。
Nginx 的使用比较简单,就是几条命令,常用到的命令如下(nginx.exe 可以等价于nginx):
Mac OSX 安装特别简单,首先你需要安装 Brew, 通过 brew 快速安装 nginx.
brew install nginx
                          # Updating Homebrew...
# ==> Auto-updated Homebrew!
# Updated 2 taps (homebrew/core, homebrew/cask).
# ==> Updated Formulae
# ==> Installing dependencies for nginx: openssl, pcre
# ==> Installing nginx dependency: openssl
# ==> Downloading https://homebrew.bintray.com/bottles/openssl-1.0.2o_1.high_sierra.bottle.tar.gz
# ######################################################################## 100.0%
# ==> Pouring openssl-1.0.2o_1.high_sierra.bottle.tar.gz
# ==> Caveats
# A CA file has been bootstrapped using certificates from the SystemRoots
# keychain. To add additional certificates (e.g. the certificates added in
# the System keychain), place .pem files in
#   /usr/local/etc/openssl/certs
#
# and run
#   /usr/local/opt/openssl/bin/c_rehash
#
# This formula is keg-only, which means it was not symlinked into /usr/local,
# because Apple has deprecated use of OpenSSL in favor of its own TLS and crypto libraries.
#
# If you need to have this software first in your PATH run:
#   echo 'export PATH="/usr/local/opt/openssl/bin:$PATH"' >> ~/.zshrc
#
# For compilers to find this software you may need to set:
#     LDFLAGS:  -L/usr/local/opt/openssl/lib
#     CPPFLAGS: -I/usr/local/opt/openssl/include
# For pkg-config to find this software you may need to set:
#     PKG_CONFIG_PATH: /usr/local/opt/openssl/lib/pkgconfig
#
# ==> Summary
# ?  /usr/local/Cellar/openssl/1.0.2o_1: 1,791 files, 12.3MB
# ==> Installing nginx dependency: pcre
# ==> Downloading https://homebrew.bintray.com/bottles/pcre-8.42.high_sierra.bottle.tar.gz
# ######################################################################## 100.0%
# ==> Pouring pcre-8.42.high_sierra.bottle.tar.gz
# ?  /usr/local/Cellar/pcre/8.42: 204 files, 5.3MB
# ==> Installing nginx
# ==> Downloading https://homebrew.bintray.com/bottles/nginx-1.13.12.high_sierra.bottle.tar.gz
# ######################################################################## 100.0%
# ==> Pouring nginx-1.13.12.high_sierra.bottle.tar.gz
# ==> Caveats
# Docroot is: /usr/local/var/www
#
# The default port has been set in /usr/local/etc/nginx/nginx.conf to 8080 so that
# nginx can run without sudo.
#
# nginx will load all files in /usr/local/etc/nginx/servers/.
#
# To have launchd start nginx now and restart at login:
#   brew services start nginx
# Or, if you don't wacd /usr/local/Cellar/nginx/1.13.12/n just run:
# cd /usr/local/Cellar/nginx/1.13.12/
注意默认端口不是80查看确认端口是否被占用.
brew services start nginx
http://localhost:8080/ 。
Nginx可以使用各平台的默认包来安装,包括具体的编译参数信息。正式开始前,编译环境gcc g++ 开发库之类的需要提前装好,这里默认你已经装好。CentOS6.5左右默认这两个包都没安装全,所以这两个都运行安装即可.
                          yum -y install gcc make gcc-c++ wget
yum -y install openssl openssl-devel
prce(重定向支持)和openssl(https支持,如果不需要https可以不安装。) 。
yum install -y pcre-devel
yum -y install gcc automake autoconf libtool make
yum -y install gcc make gcc-c++ openssl-devel
如果不安装会出现安装报错误的话比如:“C compiler cc is not found”,这个就是缺少编译环境,安装一下就可以了.
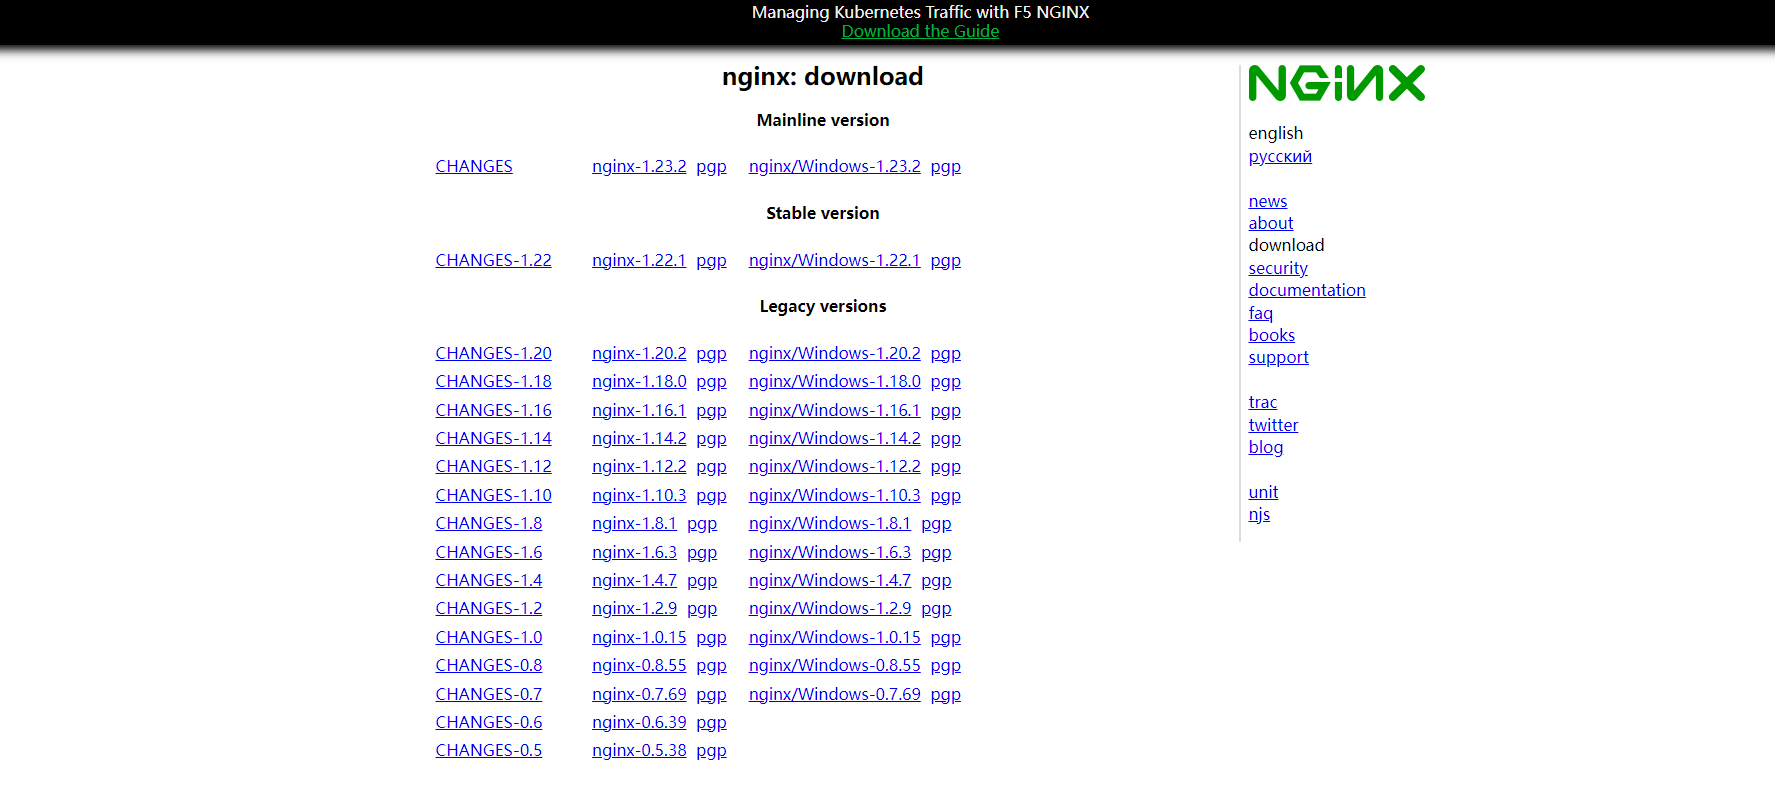
下载Linux版本的地址根页面: http://nginx.org/download/,如下图所示.
                          yum install wget
wget http://nginx.org/download/nginx-1.X.X.tar.gz
tar -zxvf nginx-X.X.X.tar.gz
然后进入目录编译安装,configure参数说明 。
                          cd nginx-1.xx
./configure --sbin-path=/usr/local/nginx/nginx \
--conf-path=/usr/local/nginx/nginx.conf \
--pid-path=/usr/local/nginx/nginx.pid \
--with-http_ssl_module \
--with-pcre=/usr/local/src/pcre-8.34 \
--with-zlib=/usr/local/src/zlib-1.2.8 \
--with-openssl=/usr/local/src/openssl-1.0.1c
./configure --prefix=/你的安装目录 --add-module=/第三方模块目录 。
kqueue(sun os),epoll (linux kenel 2.6+), rtsig(- 实时信号)或者/dev/poll(一种类似select的模式,底层实现与SELECT基本相 同,都是采用轮训方法) SELECT模式将是默认安装模式 。
启动后会进行打印对应的配置信息 。
                          ....
Configuration summary
  + using system PCRE library
  + OpenSSL library is not used
  + using system zlib library
  nginx path prefix: "/usr/local/nginx"
  nginx binary file: "/usr/local/nginx/sbin/nginx"
  nginx modules path: "/usr/local/nginx/modules"
  nginx configuration prefix: "/usr/local/nginx/conf"
  nginx configuration file: "/usr/local/nginx/conf/nginx.conf"
  nginx pid file: "/usr/local/nginx/logs/nginx.pid"
  nginx error log file: "/usr/local/nginx/logs/error.log"
  nginx http access log file: "/usr/local/nginx/logs/access.log"
  nginx http client request body temporary files: "client_body_temp"
  nginx http proxy temporary files: "proxy_temp"
  nginx http fastcgi temporary files: "fastcgi_temp"
  nginx http uwsgi temporary files: "uwsgi_temp"
  nginx http scgi temporary files: "scgi_temp"
Requires OpenSSL. On Debian, this is libssl-dev. 开启HTTP SSL模块,使NGINX可以支持HTTPS请求。这个模块需要已经安装了OPENSSL,在DEBIAN上是libssl 。
配置完成之后,使用 make 和 make install 编译和安装 nginx.
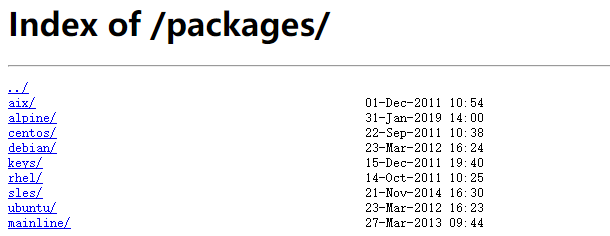
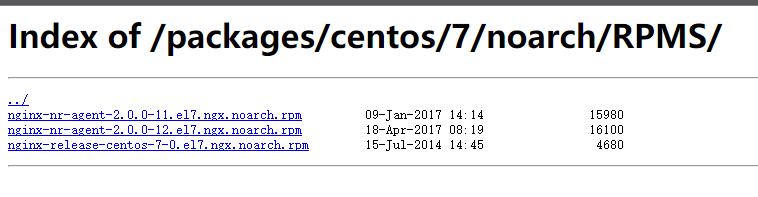
$ wget http://nginx.org/packages/centos/7/noarch/RPMS/nginx-release-centos-7-0.el7.ngx.noarch.rpm
nginx rpm 包实际上安装的是 nginx 的 yum 源.
$ rpm -ivh nginx-*.rpm
$ yum install nginx
                          $ firewall-cmd --zone=public --add-port=80/tcp --permanent
$ firewall-cmd --reload
                          make
make install
采用编译方式安装 Nginx, 并将其注册为 systemd 服务 。
安装路径为:/usr/local/nginx 。
默认下载安装 1.16.0 版本 。
默认安装 - 执行以下任意命令即可:
                          curl -o- https://gitee.com/turnon/linux-tutorial/raw/master/codes/linux/soft/nginx-install.sh | bash
wget -qO- https://gitee.com/turnon/linux-tutorial/raw/master/codes/linux/soft/nginx-install.sh | bash
自定义安装 - 下载脚本到本地,并按照以下格式执行:
sh nginx-install.sh [version]
/usr/local/nginx/sbin/nginx
/usr/local/nginx/sbin/nginx -s reload
/usr/local/nginx/sbin/nginx -s stop
/usr/local/nginx/sbin/nginx -s quit
/usr/local/nginx/sbin/nginx -V
systemctl start nginx.service
systemctl disable nginx.service
systemctl status nginx.service
systemctl list-units --type=service
systemctl restart nginx.service
systemctl enable nginx.service
                          systemctl is-enabled servicename.service # 查询服务是否开机启动
systemctl enable *.service # 开机运行服务
systemctl disable *.service # 取消开机运行
systemctl start *.service # 启动服务
systemctl stop *.service # 停止服务
systemctl restart *.service # 重启服务
systemctl reload *.service # 重新加载服务配置文件
systemctl status *.service # 查询服务运行状态
systemctl --failed # 显示启动失败的服务
如果通过yum安装,使用下面命令安装.
yum remove nginx
编译安装,删除/usr/local/nginx目录即可,如果配置了自启动脚本,也需要删除.
假如采用传统请执行一下命令:
                          systemctl stop firewalld
systemctl mask firewalld
Iptables 是用来设置、维护和检查 Linux内核 的IP包过滤规则的.
                          yum install iptables-services
systemctl enable iptables
service iptables restart
最后此篇关于深入浅出学习透析Nginx服务器的基本原理和配置指南「运维操作实战篇」的文章就讲到这里了,如果你想了解更多关于深入浅出学习透析Nginx服务器的基本原理和配置指南「运维操作实战篇」的内容请搜索CFSDN的文章或继续浏览相关文章,希望大家以后支持我的博客! 。
27
4
 0
0
我正在努力做到这一点 在我的操作中从数据库获取对象列表(确定) 在 JSP 上打印(确定) 此列表作为 JSP 中的可编辑表出现。我想修改然后将其提交回同一操作以将其保存在我的数据库中(失败。当我使用
我有以下形式的 Linq to Entities 查询: var x = from a in SomeData where ... some conditions ... select
我有以下查询。 var query = Repository.Query() .Where(p => !p.IsDeleted && p.Article.ArticleSections.Cou
我正在编写一个应用程序包,其中包含一个主类,其中主方法与GUI类分开,GUI类包含一个带有jtabbedpane的jframe,它有两个选项卡,第一个选项卡包含一个jtable,称为jtable1,第
以下代码产生错误 The nested query is not supported. Operation1='Case' Operation2='Collect' 问题是我做错了什么?我该如何解决?
我已经为 HA redis 集群(2 个副本、1 个主节点、3 个哨兵)设置了本地 docker 环境。只有哨兵暴露端口(10021、10022、10023)。 我使用的是 stackexchange
我正在 Desk.com 中构建一个“集成 URL”,它使用 Shopify Liquid 模板过滤器语法。对于开始日期为 7 天前而结束日期为现在的查询,此 URL 需要包含“开始日期”和“结束日期
你一定想过。然而情况却不理想,python中只能使用类似于 i++/i--等操作。 python中的自增操作 下面代码几乎是所有程序员在python中进行自增(减)操作的常用
我需要在每个使用 github 操作的手动构建中显示分支。例如:https://gyazo.com/2131bf83b0df1e2157480e5be842d4fb 我应该显示分支而不是一个。 最佳答
我有一个关于 Perl qr 运算符的问题: #!/usr/bin/perl -w &mysplit("a:b:c", /:/); sub mysplit { my($str, $patt
我已经使用 ArgoUML 创建了一个 ERD(实体关系图),我希望在一个类中创建两个操作,它们都具有 void 返回类型。但是,我只能创建一个返回 void 类型的操作。 例如: 我能够将 book
Github 操作仍处于测试阶段并且很新,但我希望有人可以提供帮助。我认为可以在主分支和拉取请求上运行 github 操作,如下所示: on: pull_request push: b
我正在尝试创建一个 Twilio 工作流来调用电话并记录用户所说的内容。为此,我正在使用 Record,但我不确定要在 action 参数中放置什么。 尽管我知道 Twilio 会发送有关调用该 UR
我不确定这是否可行,但值得一试。我正在使用模板缓冲区来减少使用此算法的延迟渲染器中光体积的过度绘制(当相机位于体积之外时): 使用廉价的着色器,将深度测试设置为 LEQUAL 绘制背面,将它们标记在模
有没有聪明的方法来复制 和 重命名 文件通过 GitHub 操作? 我想将一些自述文件复制到 /docs文件夹(:= 同一个 repo,不是远程的!),它们将根据它们的 frontmatter 重命名
我有一个 .csv 文件,其中第一列包含用户名。它们采用 FirstName LastName 的形式。我想获取 FirstName 并将 LastName 的第一个字符添加到它上面,然后删除空格。然
Sitecore 根据 Sitecore 树中定义的项目名称生成 URL, http://samplewebsite/Pages/Sample Page 但我们的客户有兴趣降低所有 URL(页面/示例
我正在尝试进行一些计算,但是一旦我输入金额,它就会完成。我只是希望通过单击按钮而不是自动发生这种情况。 到目前为止我做了什么: Angular JS - programming-fr
我的公司创建了一种在环境之间移动文件的复杂方法,现在我们希望将某些构建的 JS 文件(已转换和缩小)从一个 github 存储库移动到另一个。使用 github 操作可以实现这一点吗? 最佳答案 最简
在我的代码中,我创建了一个 JSONArray 对象。并向 JSONArray 对象添加了两个 JSONObject。我使用的是 json-simple-1.1.jar。我的代码是 package j

我是一名优秀的程序员,十分优秀!